
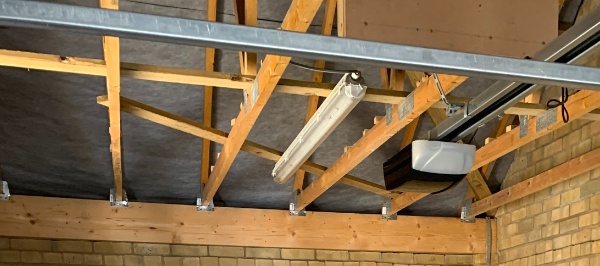
I recently moved into a new home and I wasn’t satisfied with the lighting in the garage. The garage lighting consisted of one fluorescent light batten that is controlled with a standard light switch.
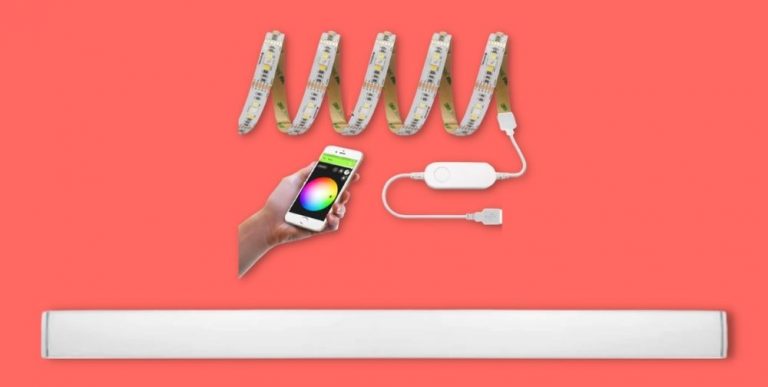
This project’s focus is to drastically upgrade the fluorescent light batten and automate turning on/off my new smart garage LED lighting.
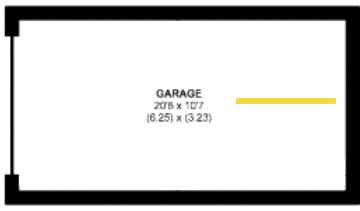
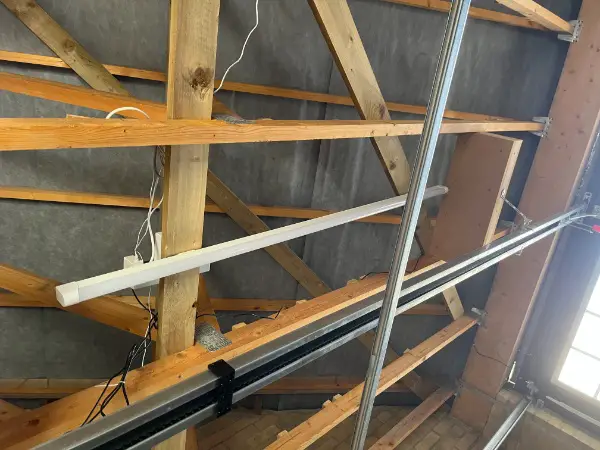
The first objective is to improve my garage lighting brightness and colour temperature. The one fluorescent light batten is not sufficient to illuminate inside my 20 SQM garage.
The existing batten is positioned near the far end of the garage. It is not in the center because of the garage door opener installation. I’d like to re-position the batten closer to the center for better light coverage.
The colour temperature is a personal preference. I dislike the dull warm yellow tone that fluorescent light battens produce. I prefer cool white LED-based lighting.
I hired an electrician to replace my fluorescent with LED light battens. After removing the old light battens, he took note of the position of the wires. He then removed the two plastic fixing brackets from the back of the batten and I held the brackets in place on the timber frame to mark the position of the fixing holes.
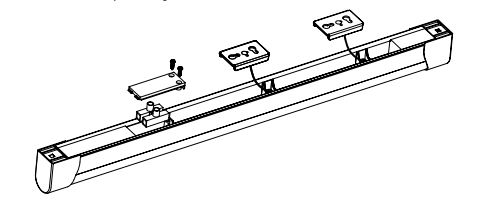
We doubled checked the distance measured between the brackets and fixed brackets in place.
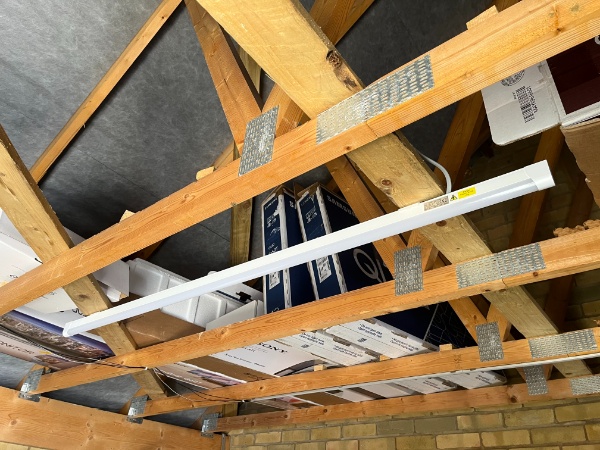
Lastly, he unscrewed the terminal block casing and connected the supply cable to the terminal block. We identified the wiring from the old light and connected it to the connection block inside the LED batten.

I am really pleased with the final look. My garage is so much brighter and suits the cooler white tone.
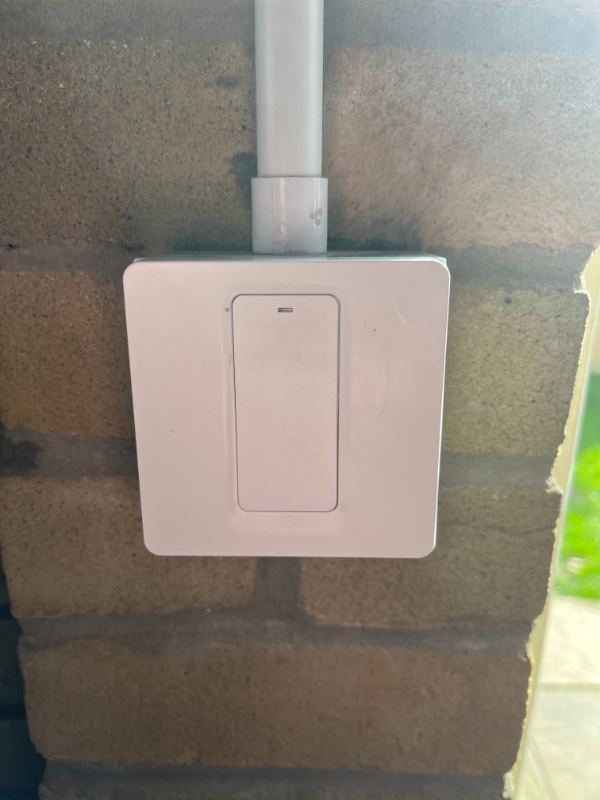
The electrician I hired also installed the Smart Life light switch. He connected the Live wire to the “L” terminal, Bulb wire to “L1, L2, L3” terminals and Neutral wire to the “N” terminal.
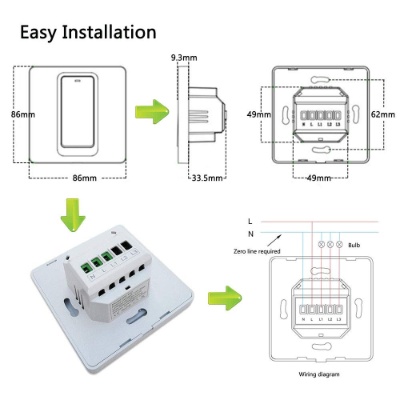
Next up, he fixed the switch onto the wall by putting the lower parts into the existing box, mounted with the two side screws and then fixed the top part into place.
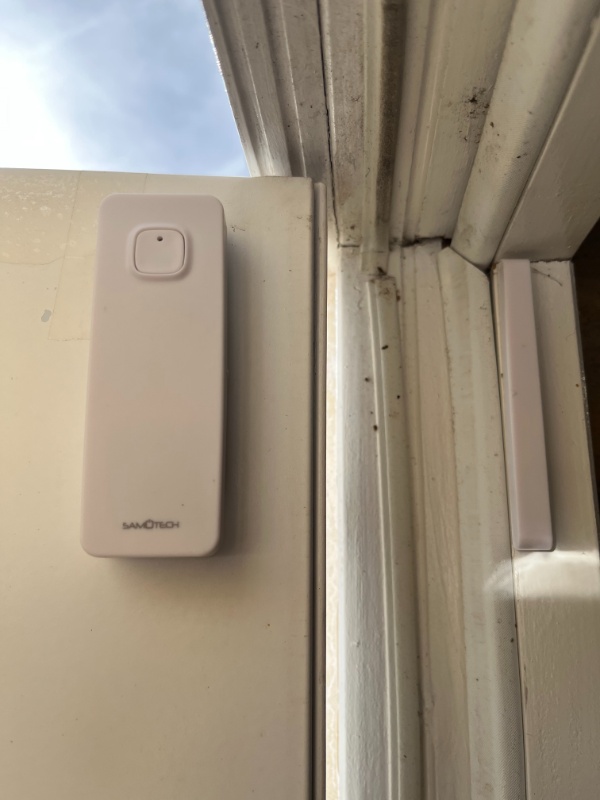
To install my Smart Life door sensor, I stuck the sensor on the door and the magnet on the door frame. Smart Life provided 3M adhesive pads which were useful.
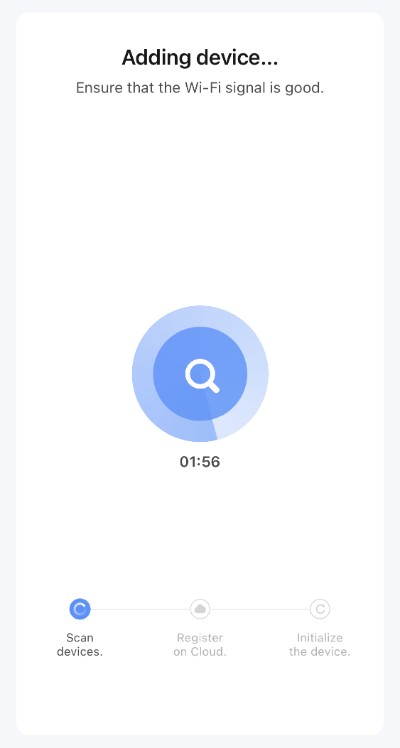
The Smart Life pairing process is quick & painless. From the app home screen > tap + > tap Add Device and follow the on-screen instructions.
The scenes are set for when my garage side door opens, effective all day, turn on my garage light switch. And when my garage side door is closed, effective all day, turn off my garage light switch.

Wow! What an impressive way, you shared your deeply researched thoughts regarding this topic. I also want to share my humble opinion, led garage lights in your garage illuminates your space and helps you access tools and other stored items while preventing accidents and injuries.
I Just read your post, it’s very informative and helpful too for readers. Dark spots and shadows may cause safety risks. Lighting on garage stairs is extremely important in terms of safety. Stair lights enhanced the appearance, safety and security of my garage.