LED Garage Parking Assistant

You are currently viewing LED Garage Parking Assistant
  • Reading time:12 mins read
  • Post last modified:05/03/2023
  • Post comments:0 Comments
  • Post category:Projects
  • Post author:

Overview

At the back of my garage, I have a storage cabinet and tools that I need to access when my car is parked inside. This project’s focus is to install a LED garage parking assistant to ensure I park my car in the best position to maximise storage space, easily retrieve items and walk around comfortably.

Objectives

Optimum Parking Position

My main objective is to park my car, in the optimal position, each & every time I use my garage. I want to park with confidence and avoid any doubt of being in the wrong position.

I store my walking boots in the garage which I fetch each day before walking my dog. If I park too far forward, I can’t get to the boot rack easily. If I park too far backwards, I run the risk of my car being damaged when closing the garage door.

Research

I know most people solve this problem with a tennis ball. This is a cheap & simple fix but in my opinion, too old school.

Laser Guides

I considered using a laser guide as a garage parking assistant but I wasn’t sure if the laser dot would be visible in daylight. I read some of the Amazon reviews and it turns out a lot of buyers are complaining about the size of small dot, even at night.

Arduino with an Ultrasonic Sensor

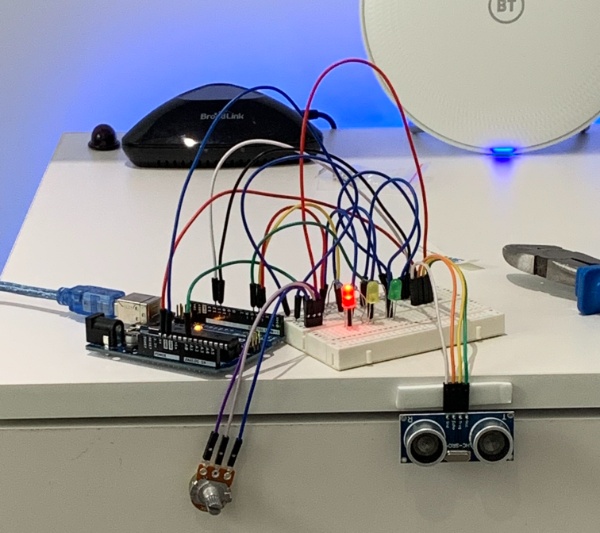
As part of my research, I purchased an Arduino starter kit which included an ultrasonic sensor. I was inspired by this project. I did get a mock-up working in my office but it wasn’t quite right for the application I had in mind.

LED Garage Parking Assistant

Solution

I decided to go down a different route than everybody else (ultrasonic or infrared with switch relays). I opted for modifying readily available off-the-shelf products.

Pressure Activated Mat

I picked a pressure mat (with an alarm) to act as a pre-warning trigger for my garage parking assistant. The pressure mat is 56x36cm & comes with a 10m cable that links to the alarm sounder. The mat size and cable length are perfect for this application.

Tuya Smart Life Wi-Fi LED Controller

I selected a Tuya or Smart Life compatible Wi-Fi LED controller to make use of a couple of 5m LED strip lights that I already had spare. The purpose of the LEDs is to provide a visual aid for when I have reached the ideal parking position.

It was important to ensure Tuya/Smart Life compatibility because I want to utilise other paired products (garage door opener & garage side door sensor) plus the in-app scenes feature.

Garage Parking Assistant Installation

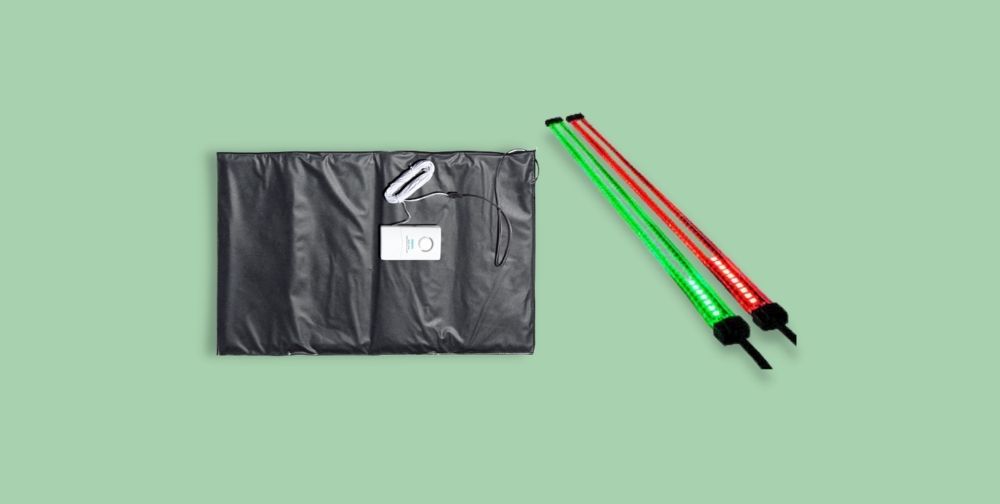
The first step was to prove my theory of using a pressure mat (within the Smart Life app) for pre-warning to stop parking my car. I soldered 2 jumper wires to a Smart Life door sensor board and connected them to the female connectors on the pressure mat.

Afterwards, the Smart Life app successfully registered the pressure I applied to the mat with my hand.

LED Garage Parking Assistant

I also tested the door sensor triggering the LED strips using Smart Life in-app scenes but the Wi-Fi lag, between activating the door sensor/pressure mat and turning on red LEDs, was too long.

LED Garage Parking Assistant

LED Light Strips Setup

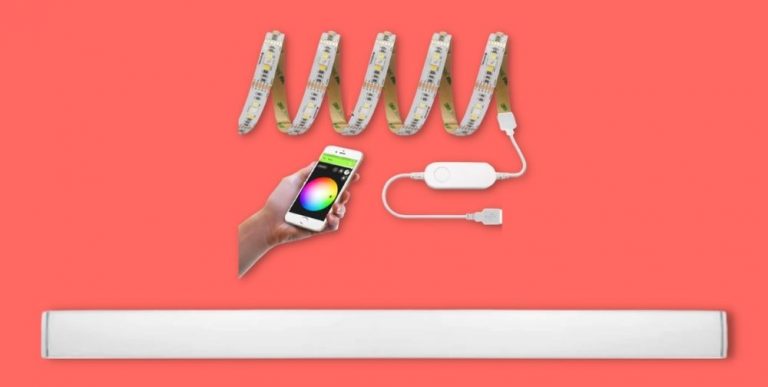
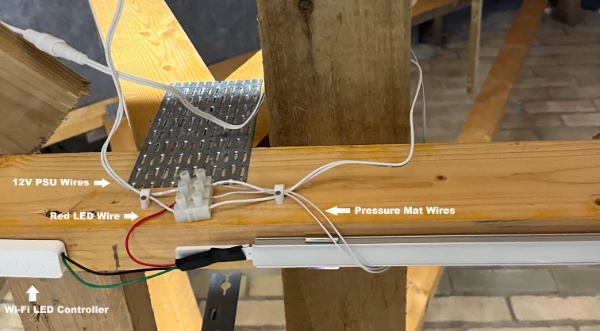
I cut the LEDs 12V power supply +/- cables and split both ends into a terminal block. Next, I soldered black, green & red wires onto the LED strip. Then, I fed the LED strips black/power & green LEDs wires into the Wi-Fi LED controller.

The Wi-Fi LED controller has a cable that connects to the (LEDs) 12V power supply via a female jack connector.

LED Garage Parking Assistant

+ve
I
I
I
LED STRIP
I
I
I
MAT
I
I
I
-ve

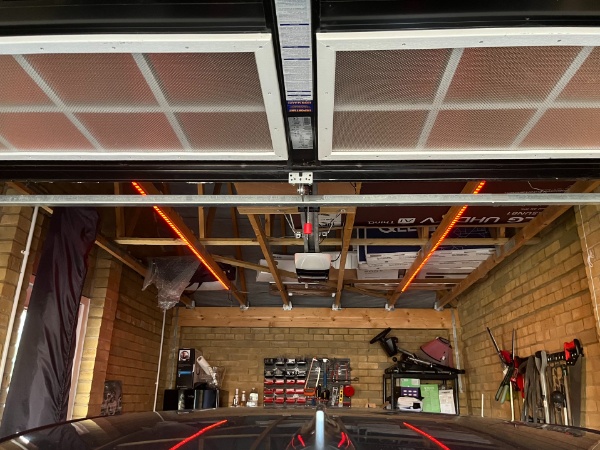
I also wanted to run the LED strips in parallel so I soldered and wired the LED strips together.

garage parking assistant

Pressure Mat Setup

I cut off the alarm sounder (to make use of the 10m cable) and routed the cables to the terminal block. Using the terminal block, I connected one of the mat’s wires to the (LEDs) 12V power supply and the other mat wire to the red LED wire. 

The additional benefit of using the alarm cables is the pre-fitted male connectors for securing to the pressure mat female connectors.

I adjusted the pressure mat’s position and placed it underneath some rubber garage flooring.

To summarise, the mat is acting as a simple switch. Once the car is on the mat, the red LEDs will come on. I reverse off the mat slightly, having reached the correct parking position, and the LEDs switch off. As I required instant parking feedback for this project, the direct connection between the pressure mat & LEDs was the best option.

Fitting LED Light Strips

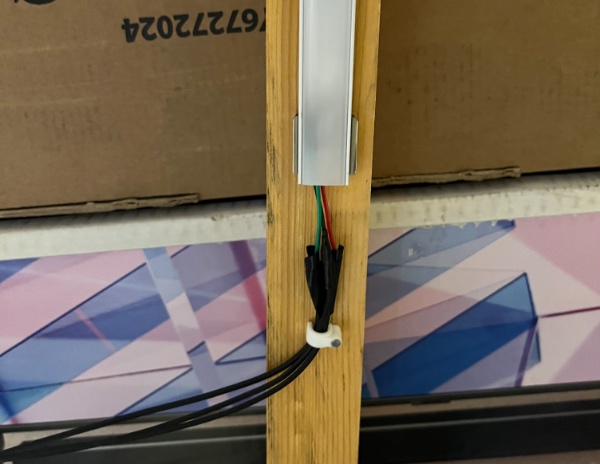
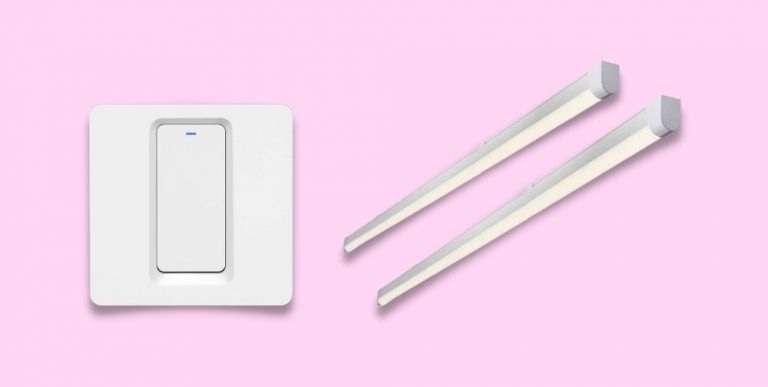
I found LED aluminium channels were the easiest method for fitting the LED strips to my garage’s timber frame.

LED Garage Parking Assistant

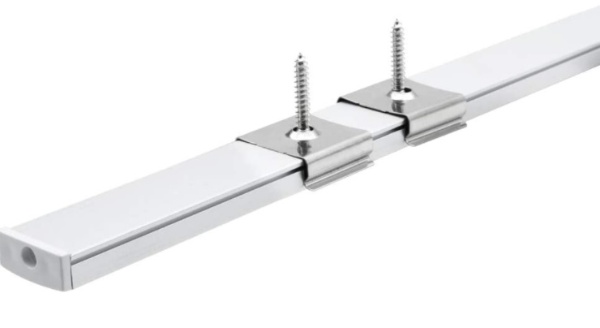
According to the manufacturer, the aluminium is aircraft grade and improves heat dissipation. The white cover diffuses the LEDs and provides a similar appearance to neon.

LED Garage Parking Assistant

The aluminium channels are supplied with white covers, end caps and mounting clips.

Garage Parking Assistant Automation

I found quite a few garage parking assistant projects online and most of the visual aids/LEDs were “always on.” I wanted to avoid this by automating the green LEDs to only turn on after the garage door opened and red LEDs to only turn on if the pressure mat was activated i.e. pre-warning to stop parking my car.

Smart Life App

To automate the green LEDs, I used the Smart Life app and created scenes.

Apple App DownloadGoogle App Download

Smart Life LED Settings

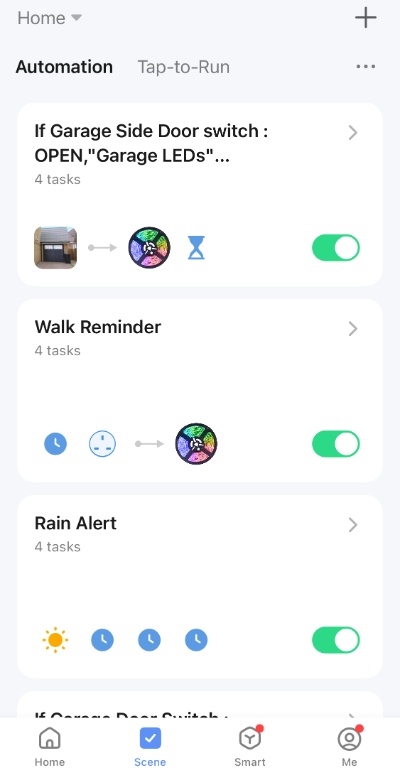
Once I had paired the Smart Life Wi-Fi LED controller, I could set LED modes. Navigate to the Smart Life home screen to view paired devices.

LED Garage Parking Assistant

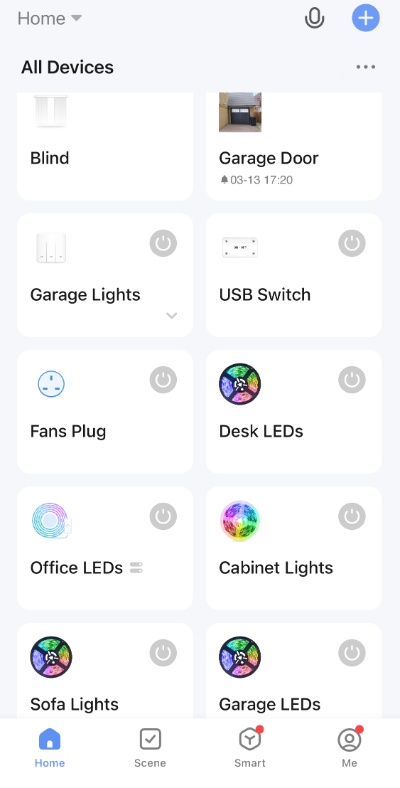
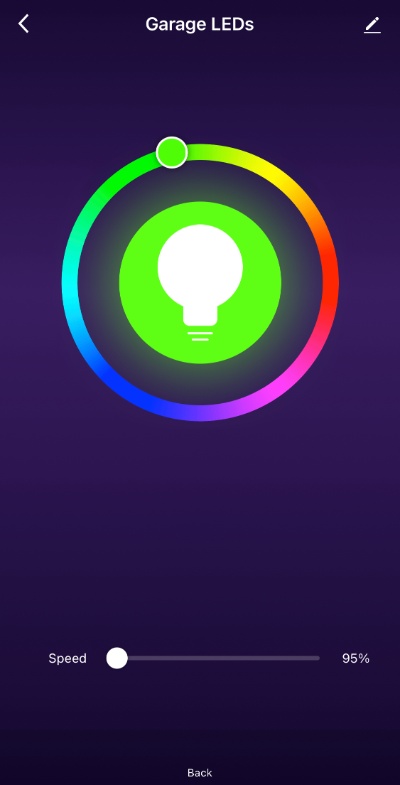
Tap the LEDs and turn on.

LED Garage Parking Assistant

Tap Scene & Soft. Choose green colour and speed of the LEDs pulsing effect.

LED Garage Parking Assistant

That’s the green LEDs setup. As the red LEDs bypass the Wi-Fi LED controller and are directly connected to the pressure mat, I didn’t need to set a mode for this colour.

Smart Life Scenes

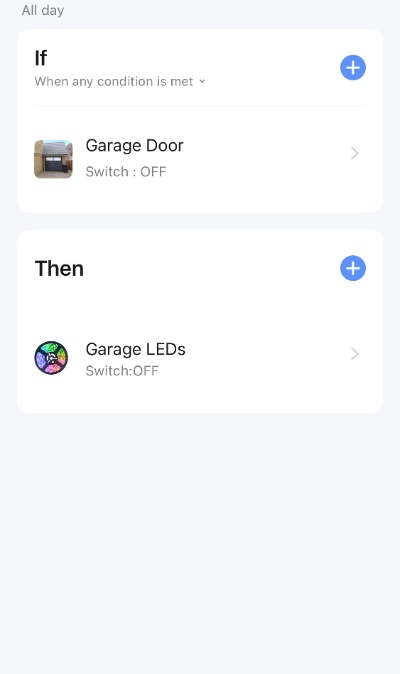
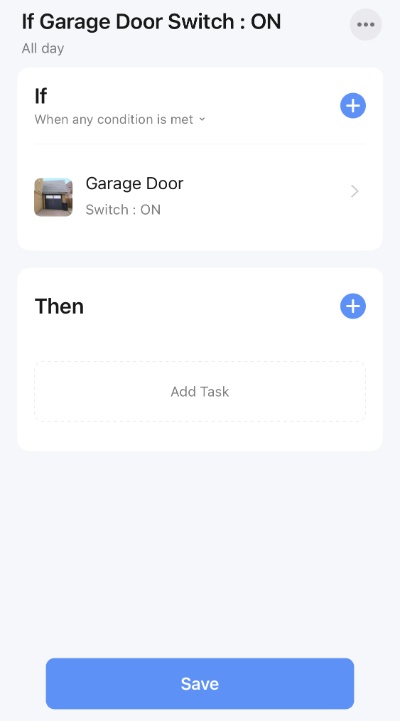
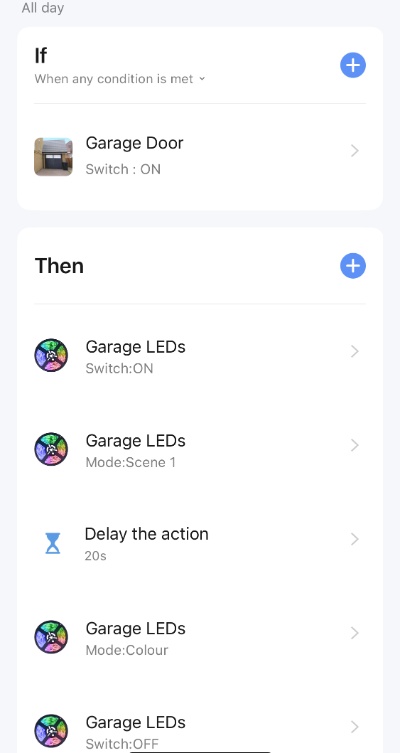
Smart Life scenes are setup using “If” & “Then” formulas. From the Smart Life home screen, tap Scene followed by the + icon.

LED Garage Parking Assistant

For the “If” condition, select the When device status changes > e.g. your named garage door opener > Switch > ON.

LED Garage Parking Assistant

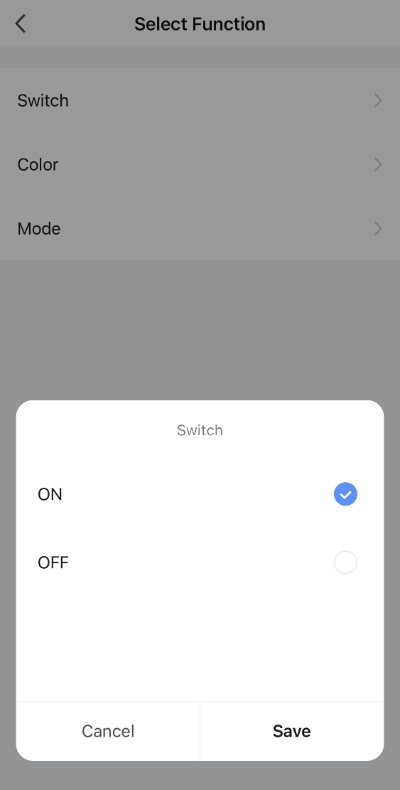
For the first “Then” condition, select circular LED Garage Parking Assistant icon > Run the device > your named garage LEDs > Switch > ON. Tap Save & Next.

LED Garage Parking Assistant

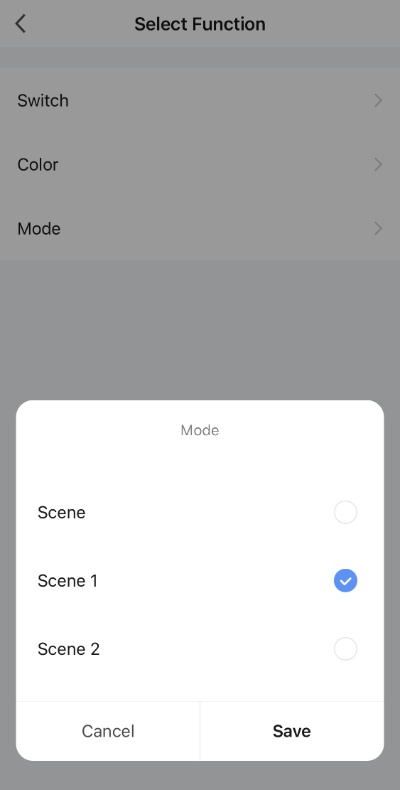
For the second “Then” condition, select circular LED Garage Parking Assistant icon > Run the device > your named garage LEDs > Mode > Scene 1 AKA Soft. Tap Save & Next.

LED Garage Parking Assistant

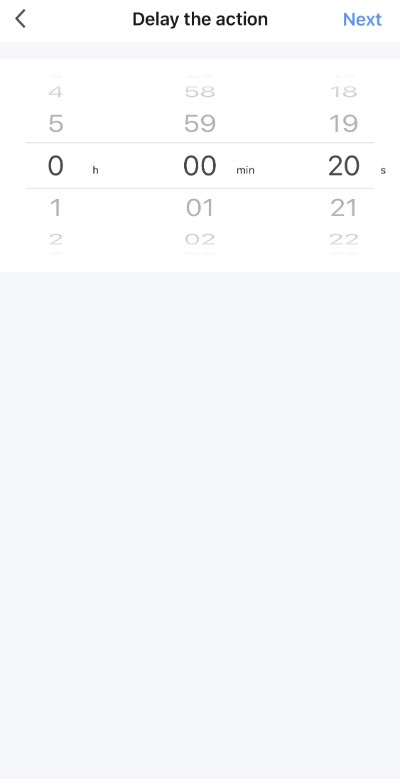
For the third “Then” condition, select circular LED Garage Parking Assistant icon > Delay the action > your preferred time delay. Tap Next.

LED Garage Parking Assistant

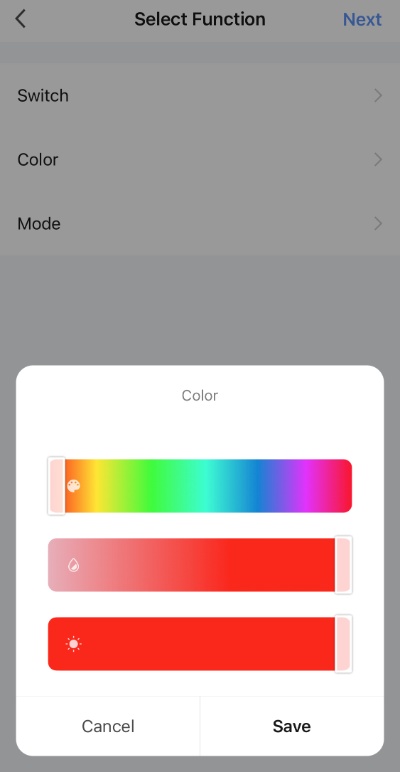
For the forth “Then” condition, select circular LED Garage Parking Assistant icon > Run the device > your named garage LEDs > Color > Red & set the brightness. Tap Save & Next.

LED Garage Parking Assistant

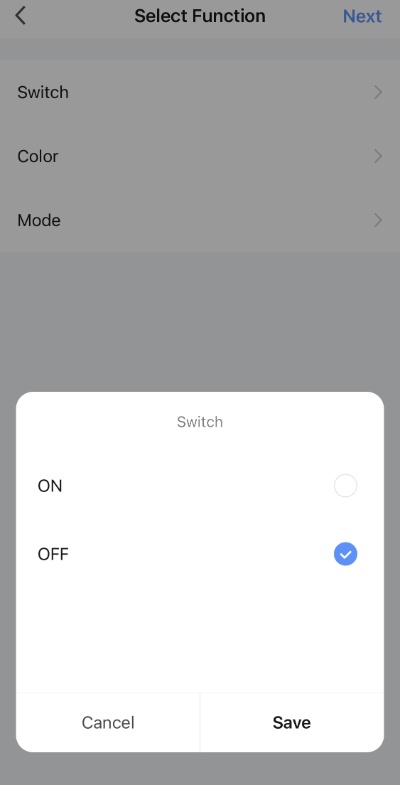
For the final “Then” condition, select circular LED Garage Parking Assistant icon > Run the device > your named garage LEDs > Switch > OFF. Tap Save & Next.

LED Garage Parking Assistant

This is the main scene for this project completed.

LED Garage Parking Assistant

I repeated the steps above to create a scene for turning off the LEDs after the garage door is closed.

LED Garage Parking Assistant

Wrap Up

Garage parking can be a hassle, especially if you need to reach tight storage spaces frequently. After completing my garage parking assistant project, I park in an optimal position every time. If you have any questions, feel free to join the discussion below.

Leave a Reply