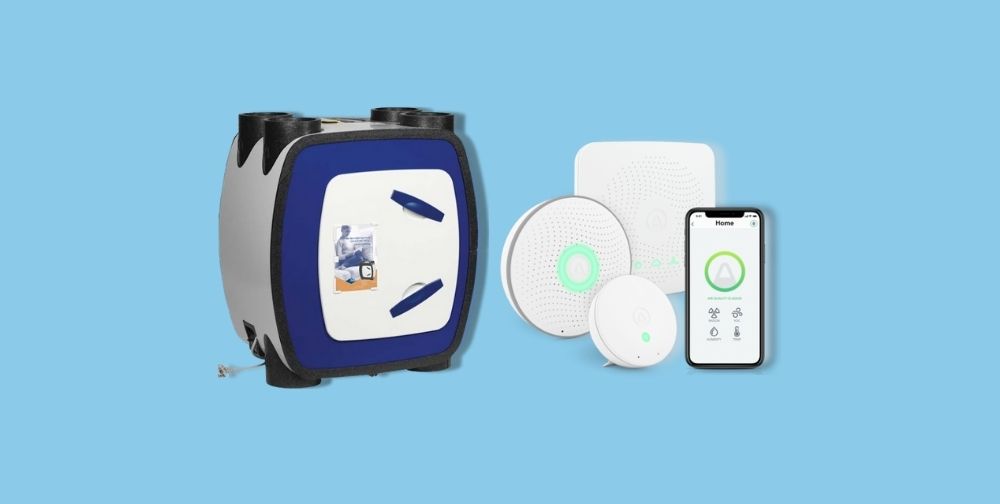
My home has a Heatrae Sadia/Itho HRU ECO 4 fitted. The HRU ECO 4 MVHR (Mechanical Ventilation with Heat Recovery) is a whole house ventilation system.
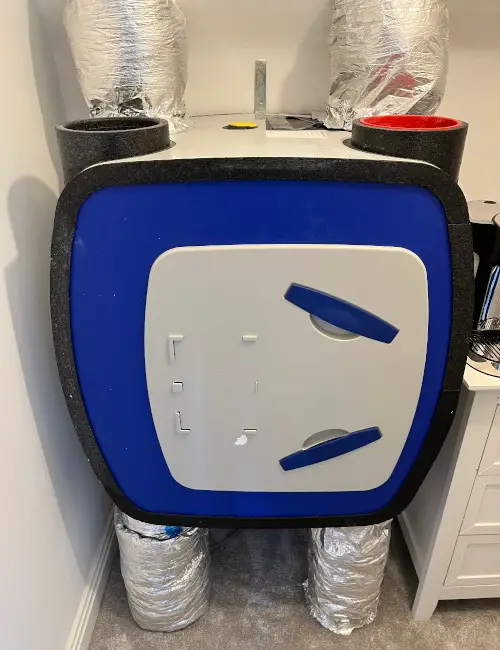
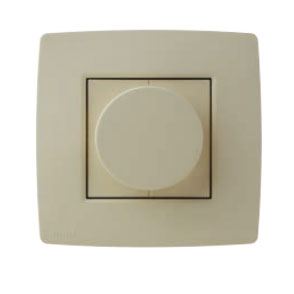
The HRU ECO 4 removes contaminated wet air from kitchens & bathrooms and simultaneously provides fresh preheated air to other rooms in the home. I control the HRU ECO 4 using wall mounted switches/dials with low (1), medium (2) or high (3) fan speed settings.
This project’s focus is ventilation system automation from real-time Humidity and Volatile Organic Compounds (VOCs) data.
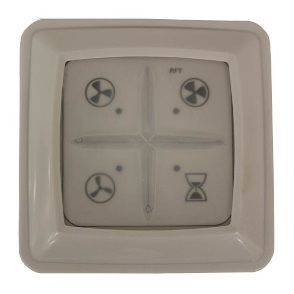
I read the Heatrae Sadia HRU ECO 4 user manual and I was delighted to discover a Wireless Control Switch was listed in the accessories section. I purchased the wireless switch from i-sells.co.uk.
The RF switch is battery powered and offers three settings (low, medium & high speeds) plus a timer (10, 20 & 30 minutes) function.
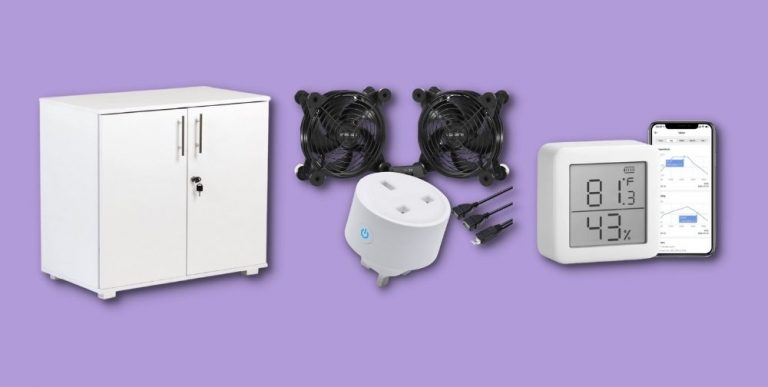
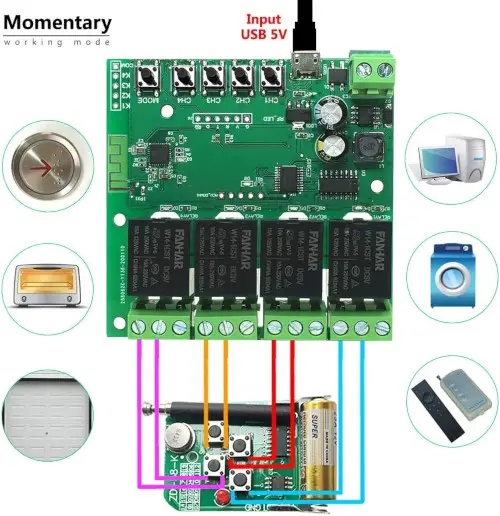
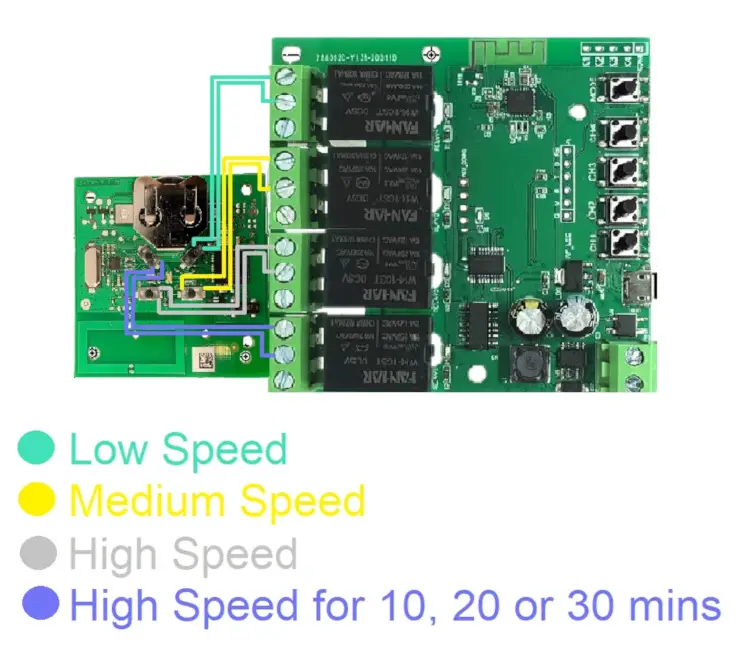
I decided to use a Smart Life 4-channel Wi-Fi relay switch to make my Heatrae Sadia wireless control switch “smart.” This Wi-Fi relay supports a momentary mode which will simulate pressing the switch/remote buttons.


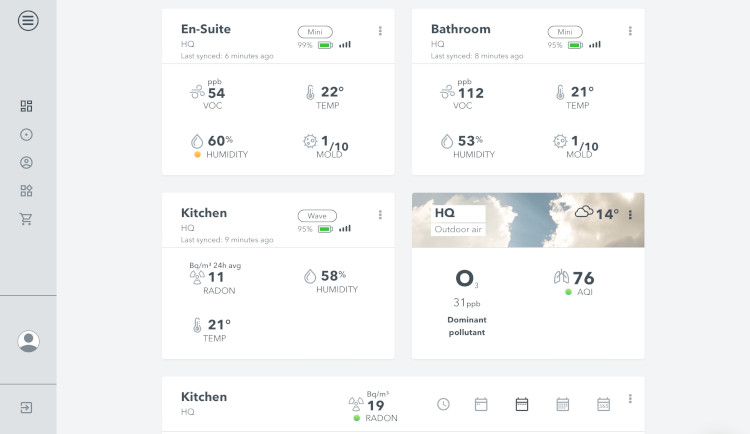
The Airthings web dashboard is excellent too.
The Airthings Home Kit was super easy to setup. You just need to remove the Wave and Wave Mini back panels and pull the battery tabs to start the pairing process.
Connect power and Ethernet cables to your Hub. Download the Airthings Wave app and follow the on-screen instructions.
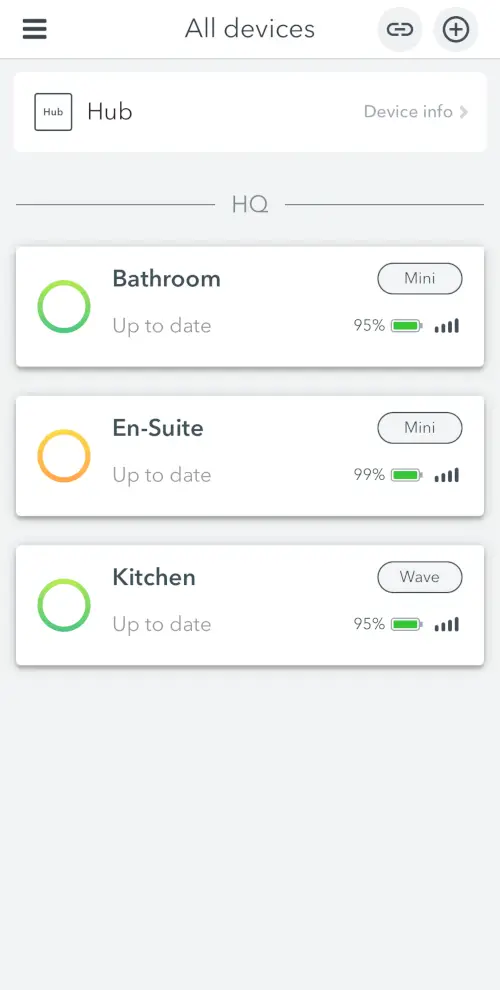
Top Tip Airthings sensors require an initial calibration time of 7 ~days.
Connect power to your Wi-Fi relay switch and add it as a new device. From the home screen, press the circular + icon > Electrical > Switch (Wi-Fi).
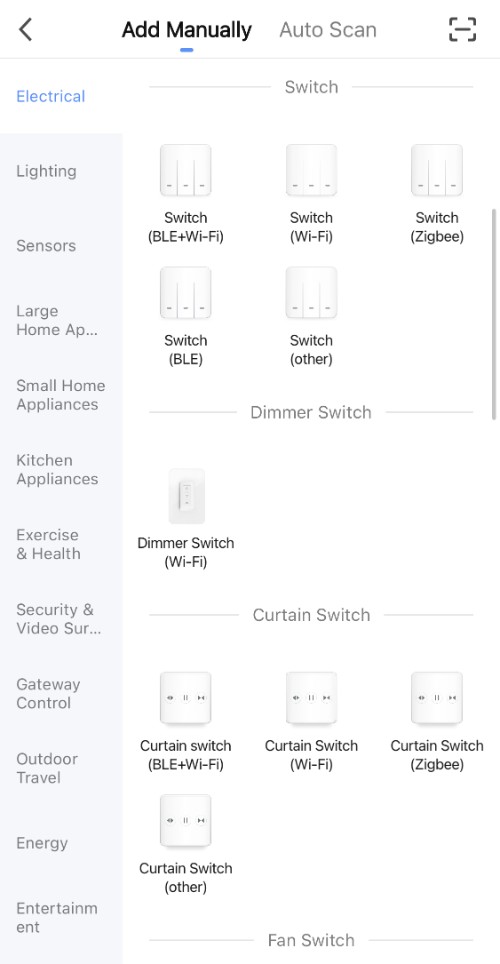
Top Tip check your network is set to 2.4Ghz only.
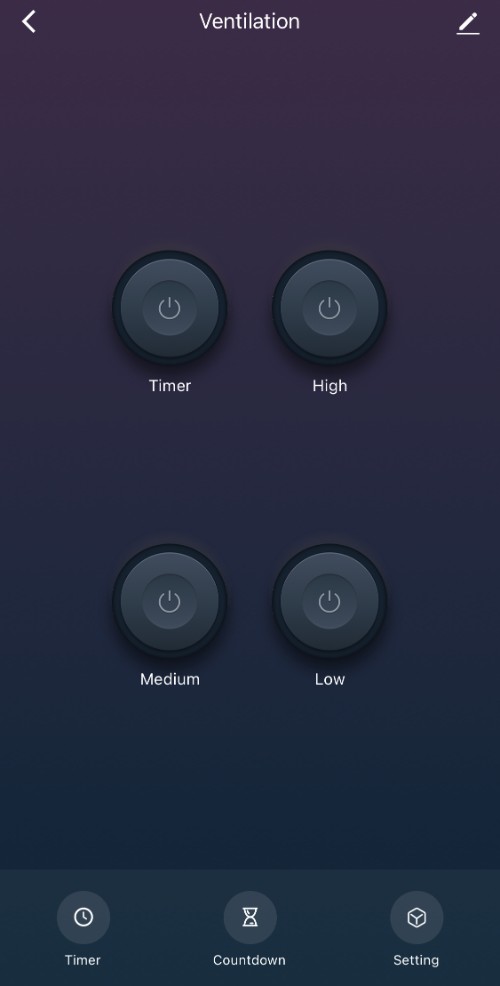
After you have added your Wi-Fi relay as a new device. Name the buttons.
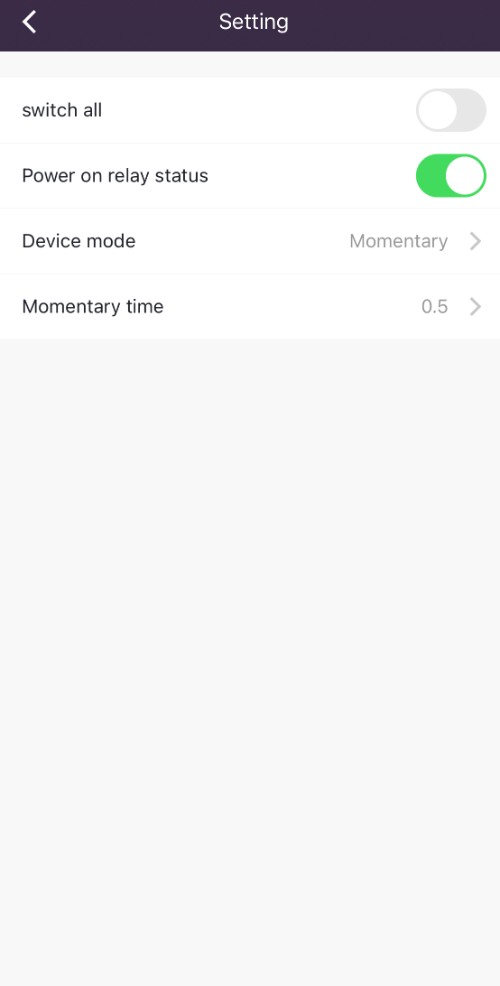
Tap Setting, ensure Device mode is set to Momentary and Momentary time as 0.5.
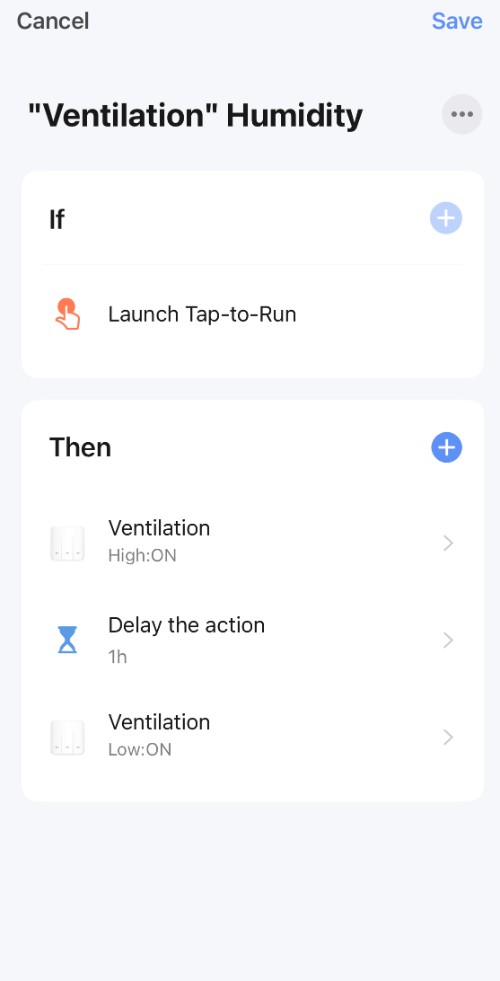
Next, you need to create Smart Life Tap-to-Run scenes (for IFTTT) based on your ventilation preferences.
For example, I created a Humidity scene to run the ventilation system at high fan speed for 1 hour and then back to low.
For VOCs, I created a scene to run the ventilation system at high fan speed for 3 hours and then back to low.
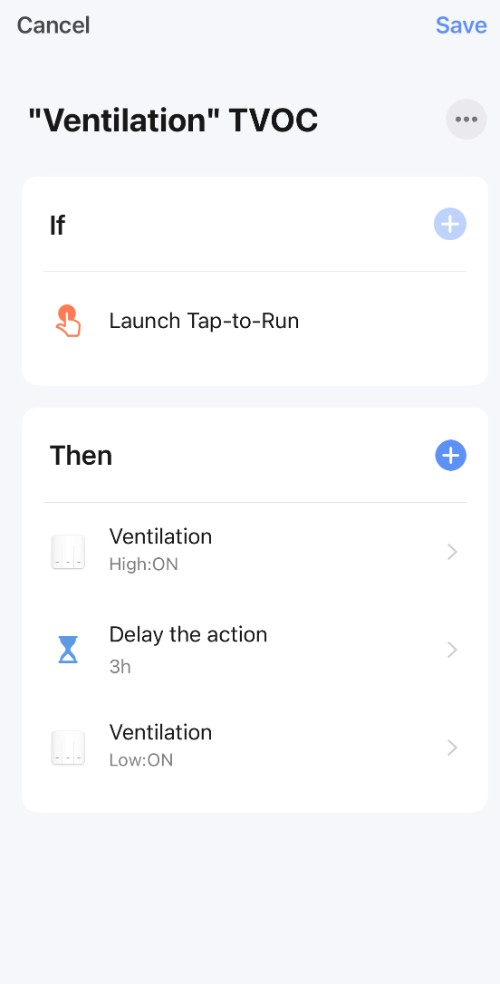
Please refer to the illustration below.
Before you begin creating custom IFTTT Applets, I recommend linking the Airthings & Smart Life to your IFTTT account by following the similar steps in this tutorial.
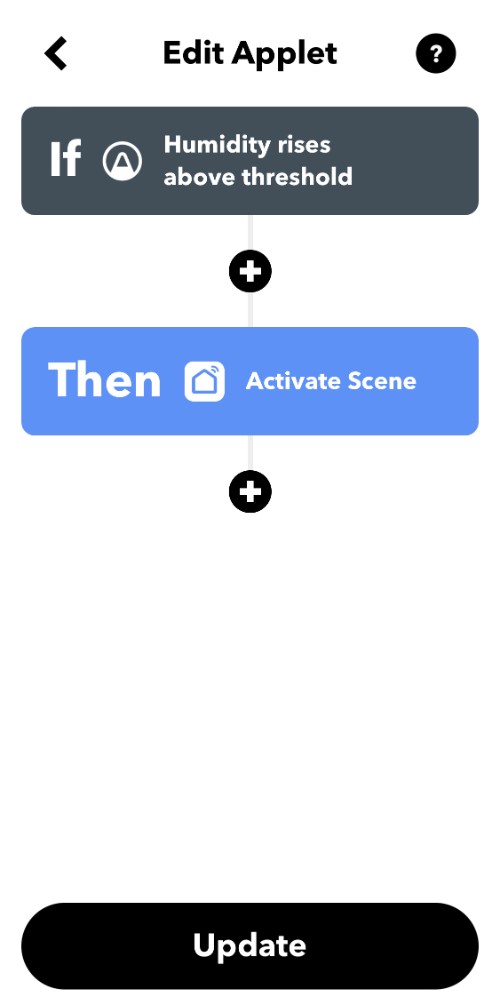
Your trigger will be your Airthings sensor’s Humidity rising to a specific threshold.
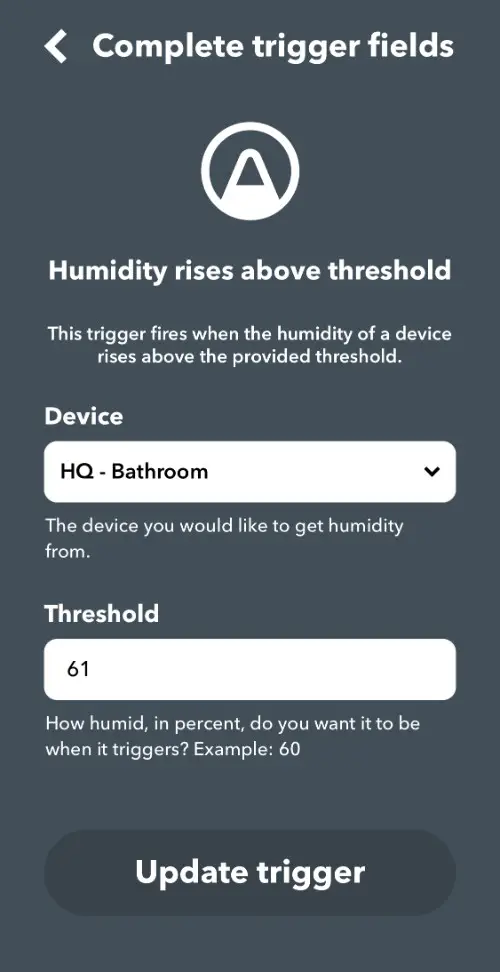
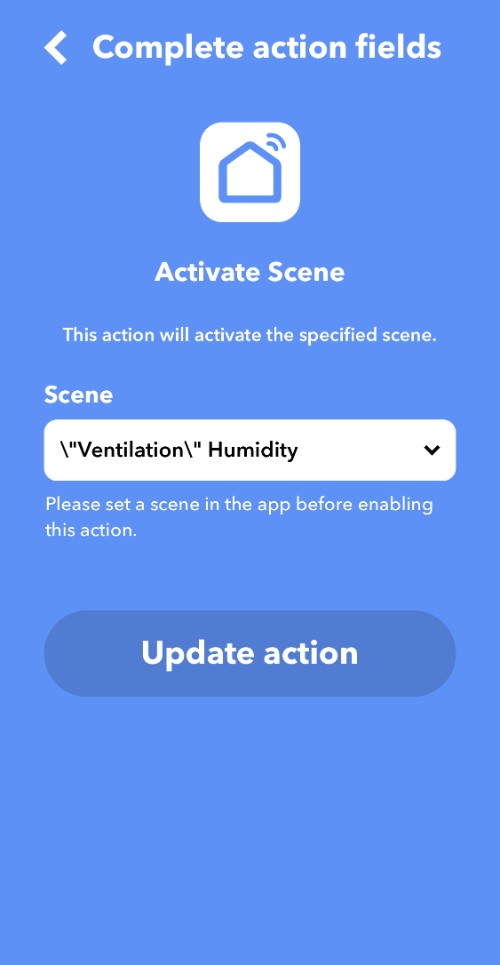
Your action will be initiating the specific Smart Life scenes setup earlier.
I produced an IFTTT Applet for each of my Airthings sensors around my home.
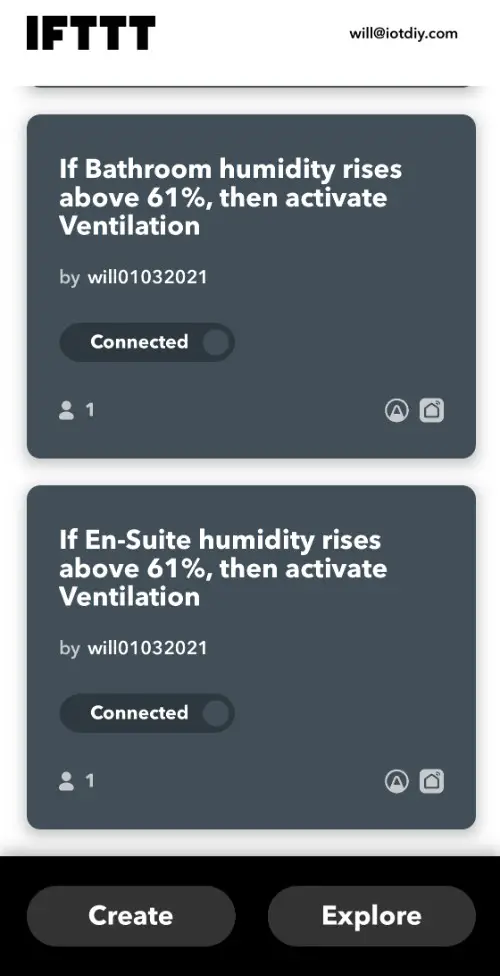
Top Tip You can review your Applets activity i.e check if it is working as expected or how many times it has run.

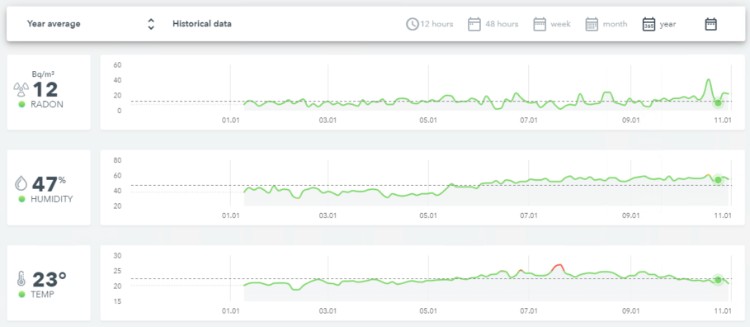
I completed the setup of this project in January 2021. Over the past 11 months, it has been working flawlessly.
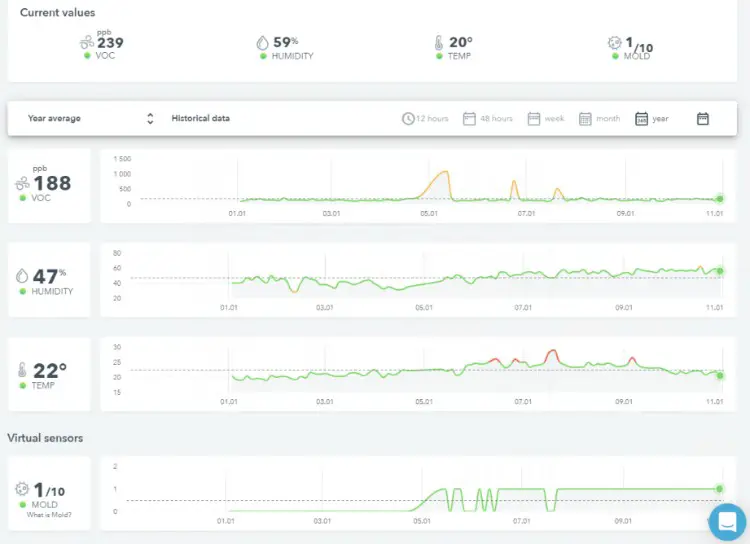
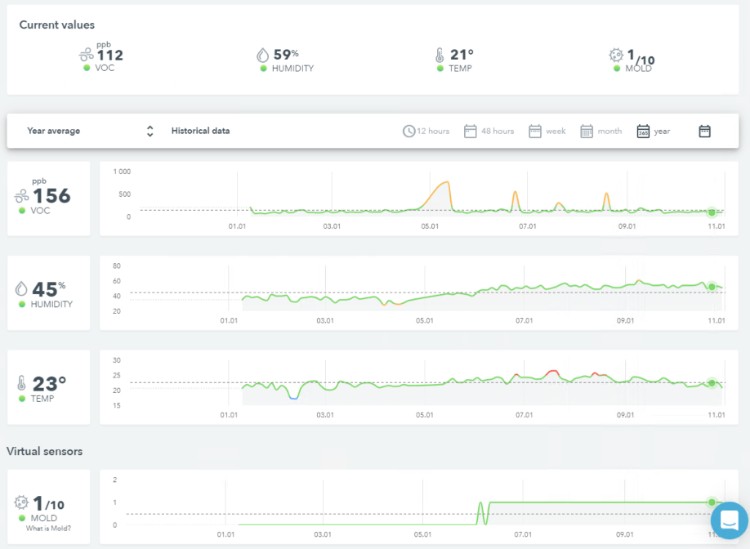
According to Airthings, VOC contents in the air are low if between 0-250 ppb. Mayo Clinic states ideal indoor Humidity is somewhere between 30-50%.
My En-Suite bathroom has maintained an average of 188 ppb & 47% Humidity.
My Bathroom has maintained an average of 156 ppb & 45% Humidity.
My kitchen has maintained an average of 47% Humidity.