
To use an Applet, you will need a free IFTTT account. The process to setup an account is simple.
Click here to join and choose to use your current Apple, Google, Facebook accounts or click Sign Up to use an email address and password.
We need to start by connecting your Arlo devices to IFTTT, so we can help them talk to other apps or web services.
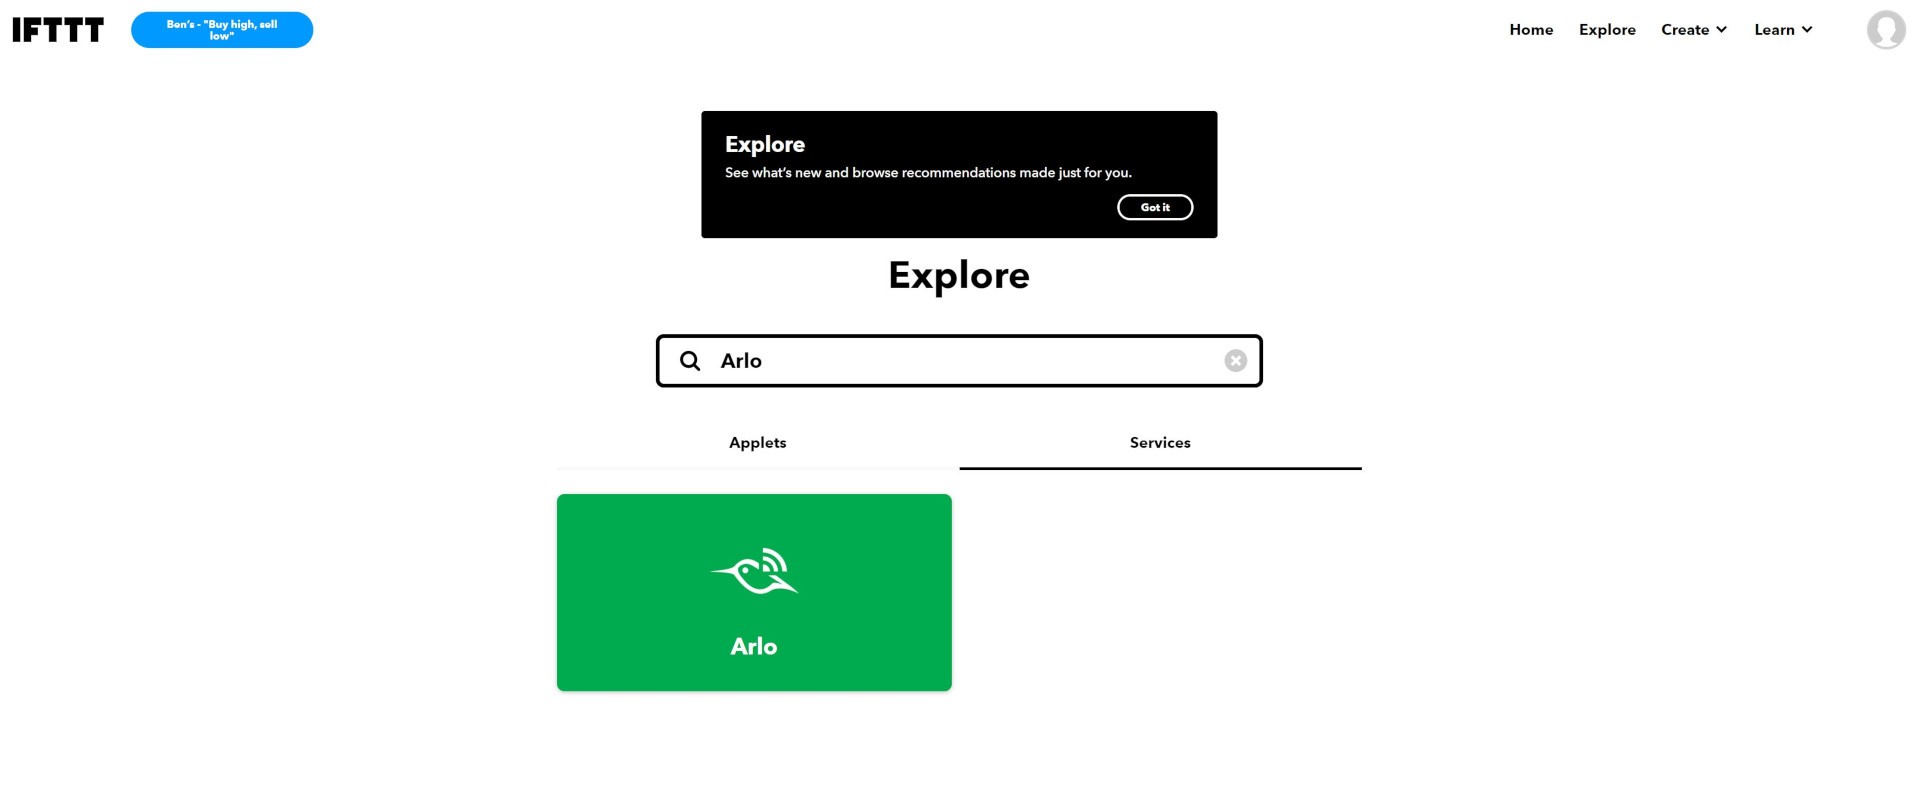
After creating or signing in to your IFTTT account, click Explore.
Next up, search for Arlo and click Services.
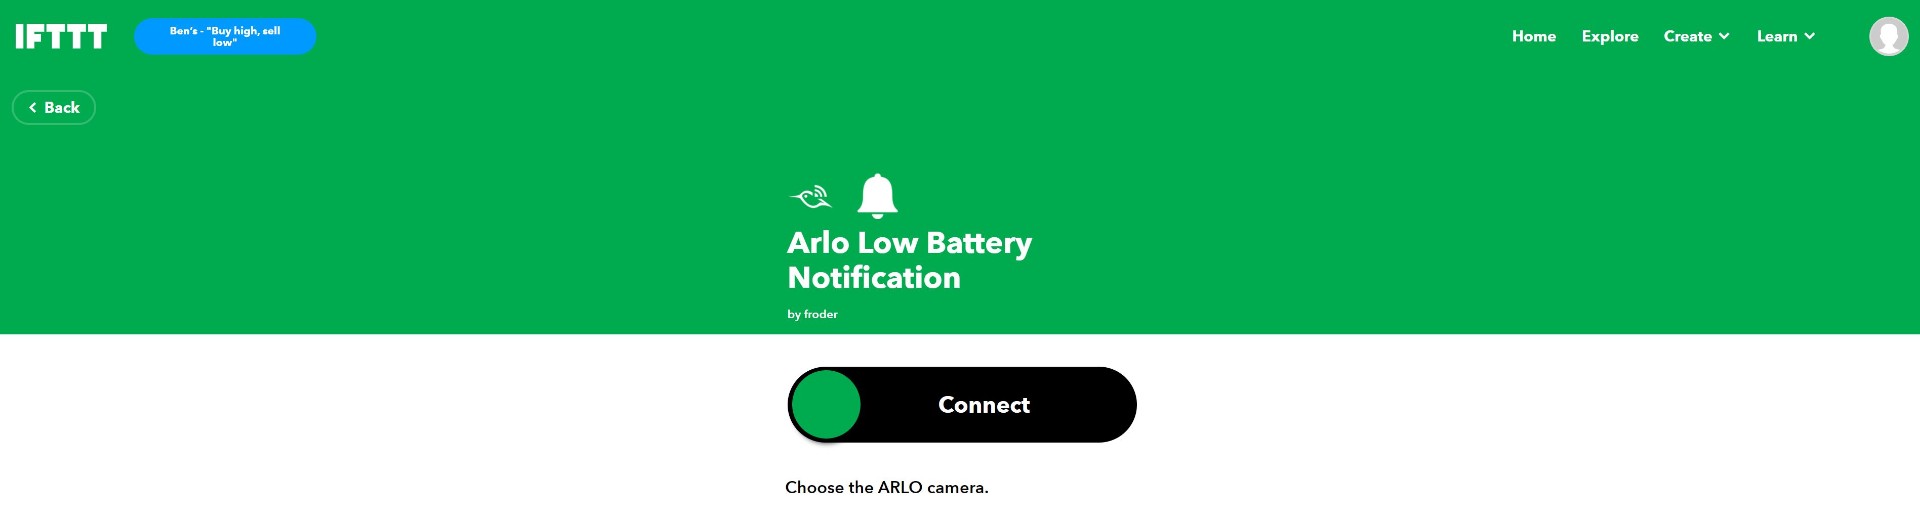
Click on the Arlo logo followed by Connect. You will be presented with an Arlo web page to Log In.

Follow the steps to authorise IFTTT access to your Arlo account.

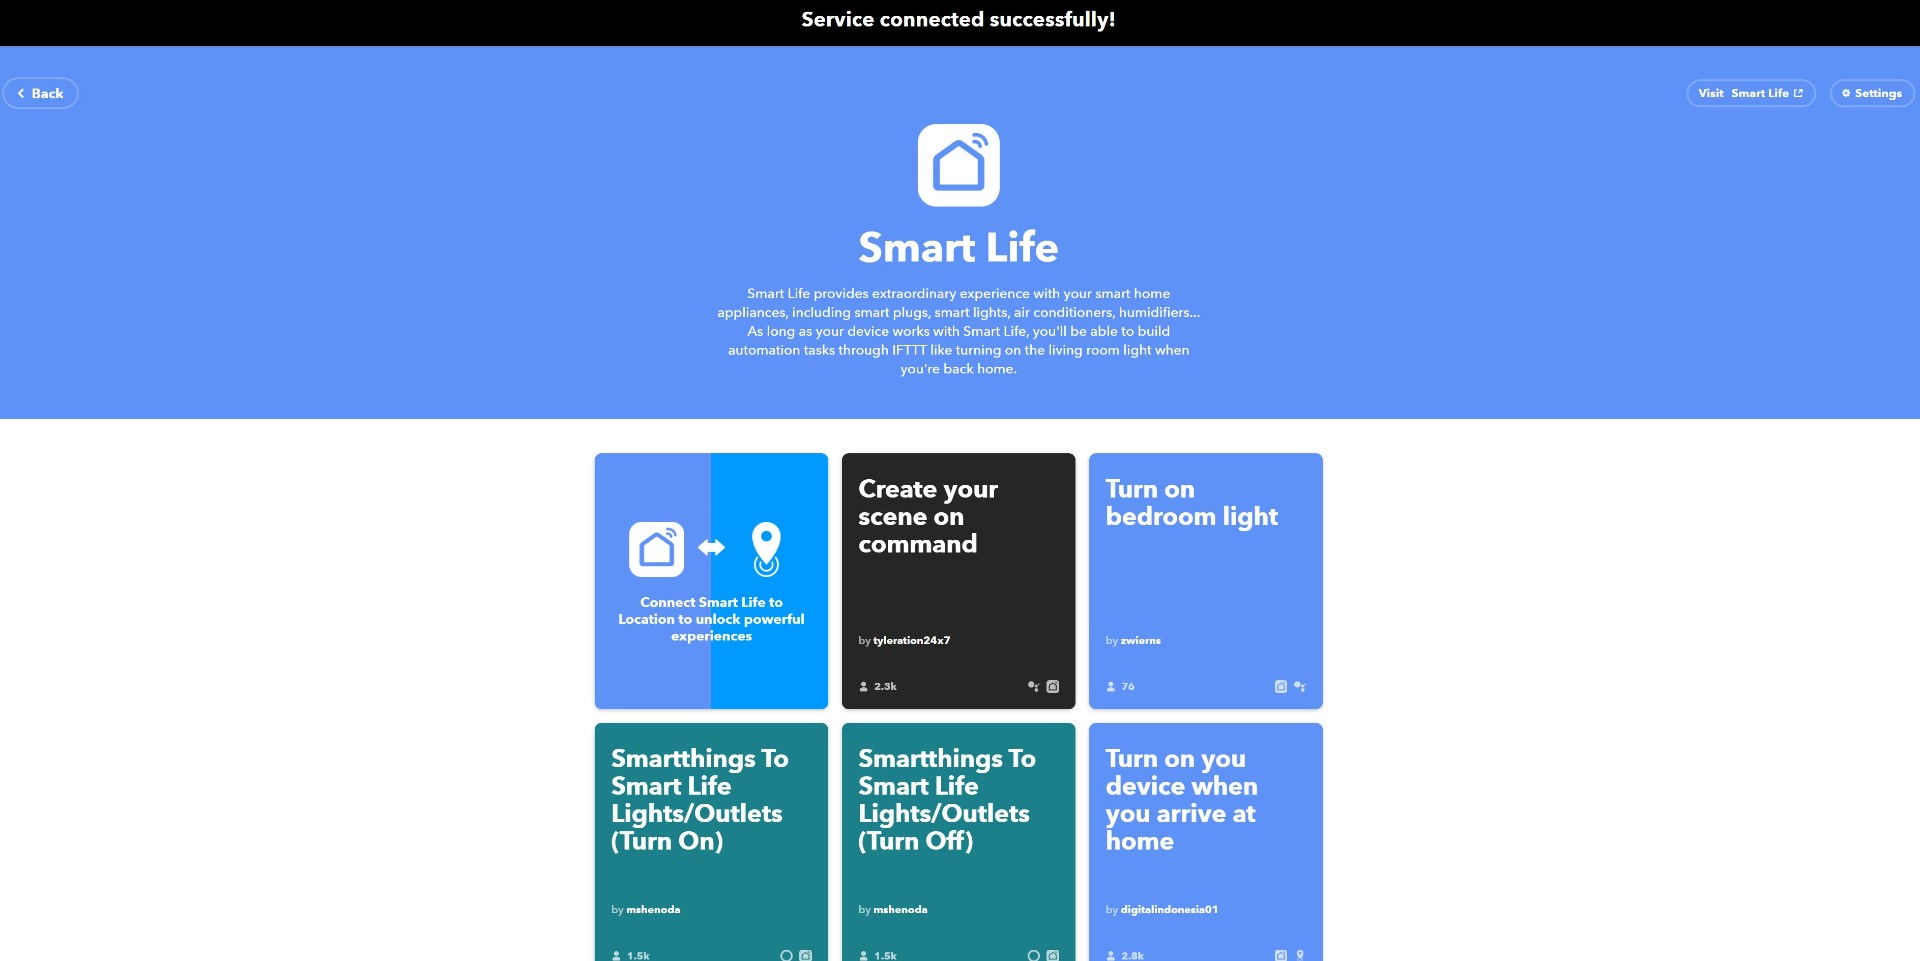
And that is it! Your Arlo & IFTTT are successfully connected.

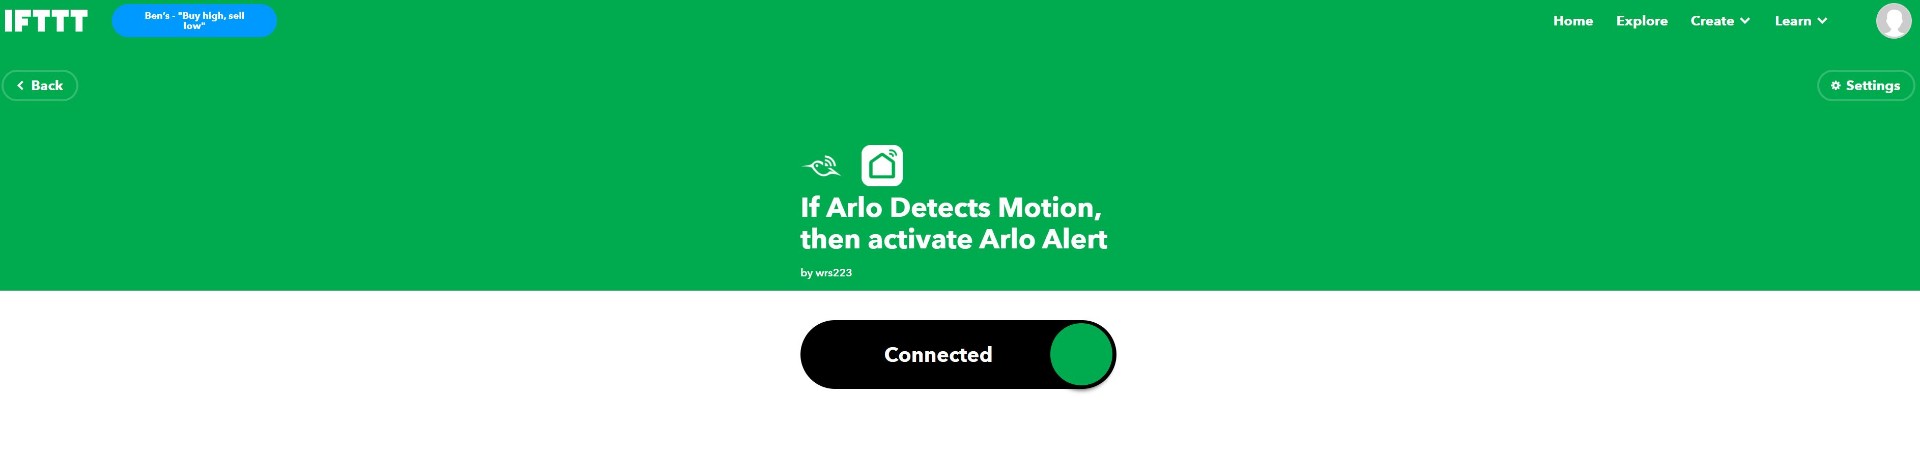
At this point you can begin discovering Arlo related Applets which are ready for you to start using right away. Browse the extensive list and pick whichever Applet is of interest and then Connect.
For example, to be notified when my Arlo camera battery is running low.
I selected my Garage Camera and then Save.

Top Tip After you have connected an existing Applet if you would like to check how often it has run, click Settings located top right of your screen and then select View activity.

Therefore, I need to link my Smart Life account to IFTTT.
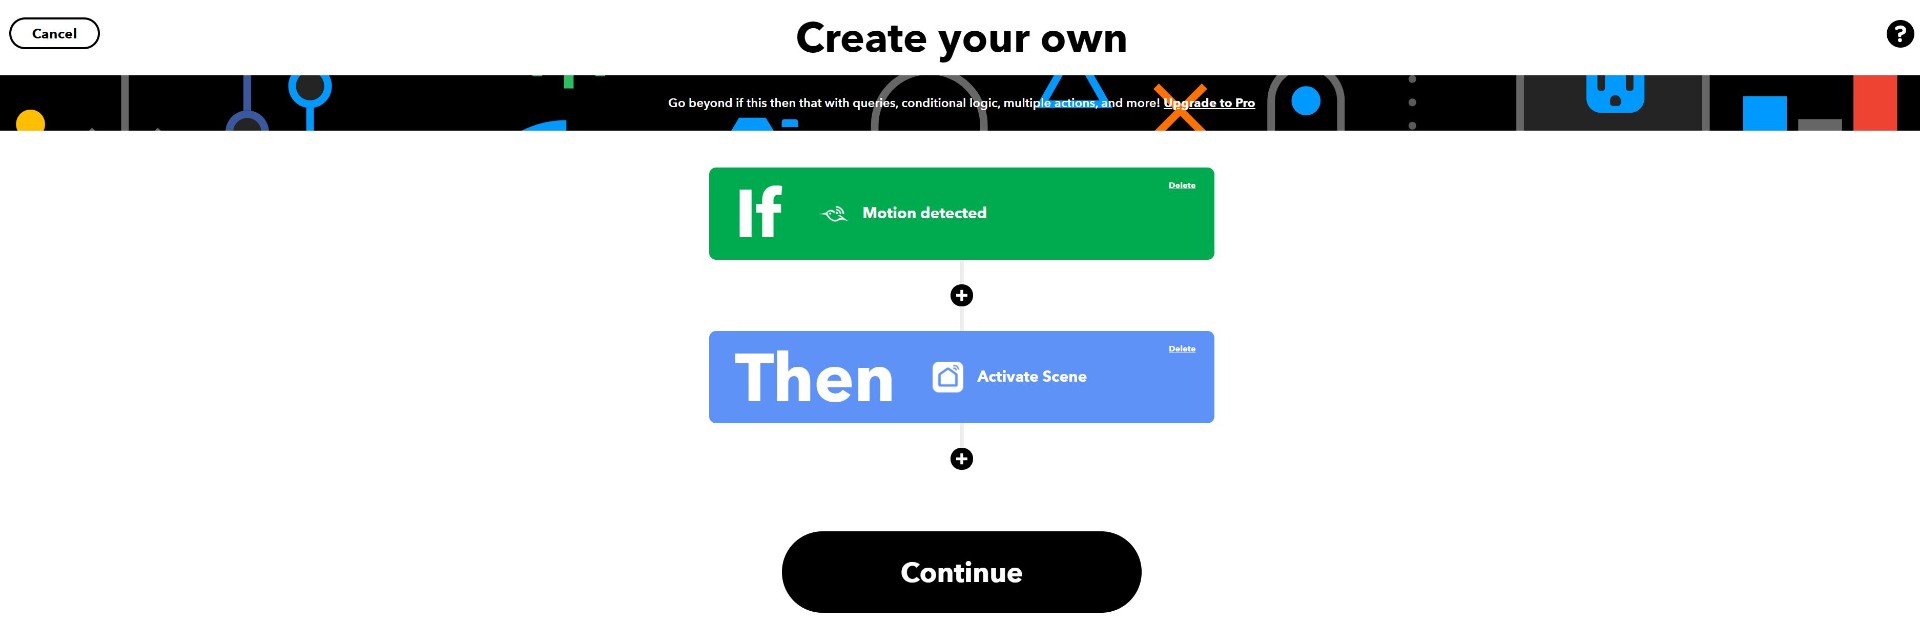
To get started creating custom Applets, navigate to the IFTTT home page and click Create and then Applet from the drop-down menu.
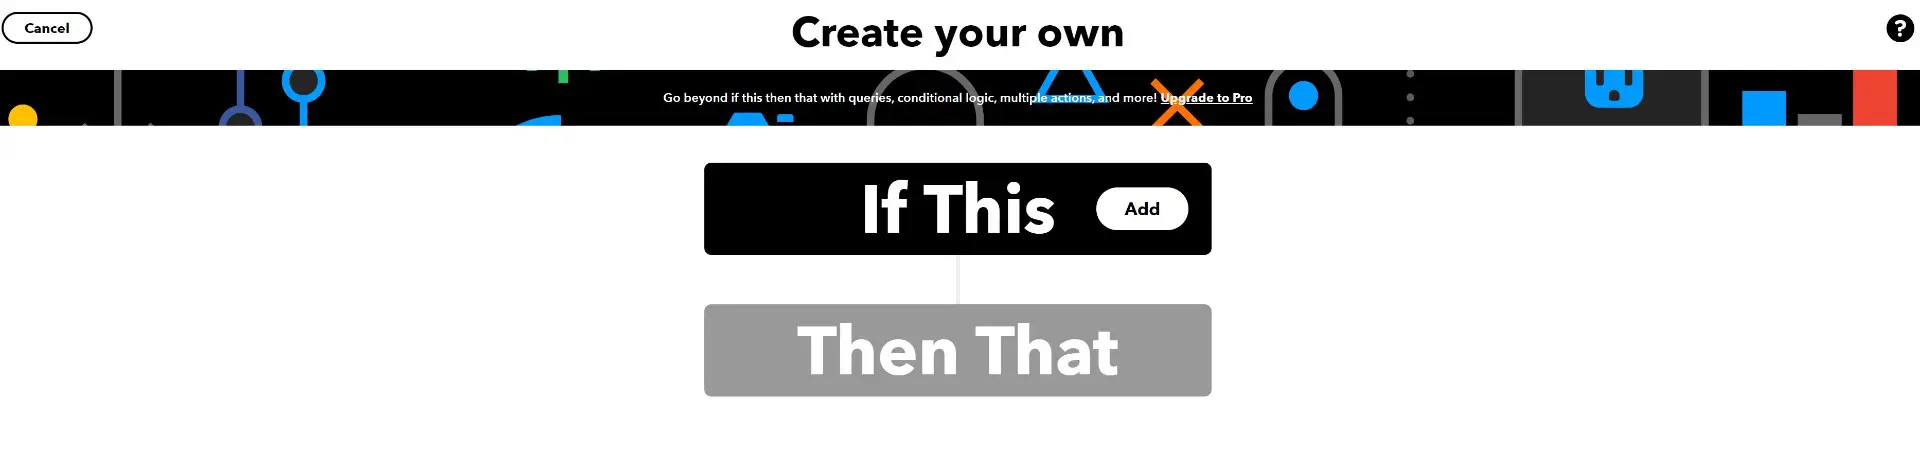
Click If This Add and choose a service. Search for Arlo and select your trigger.
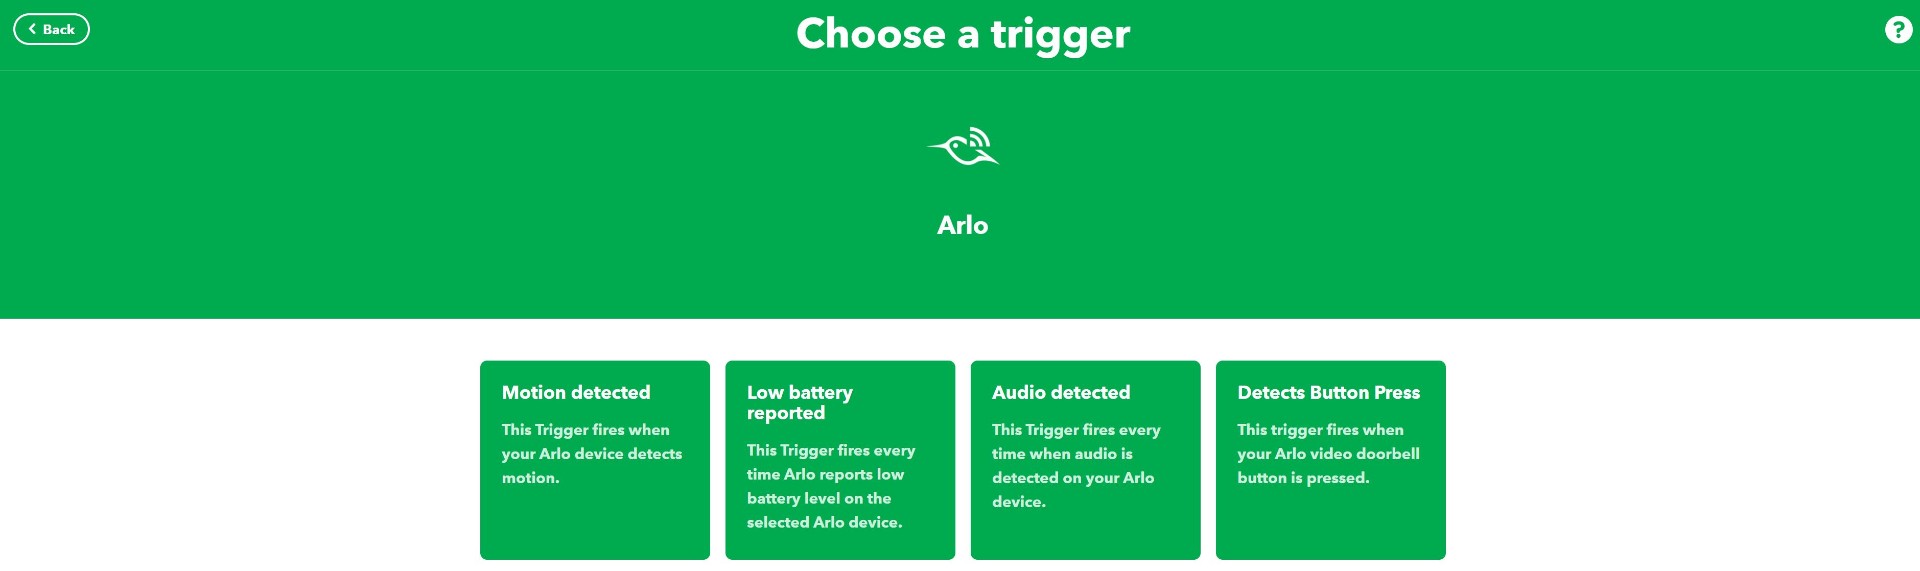
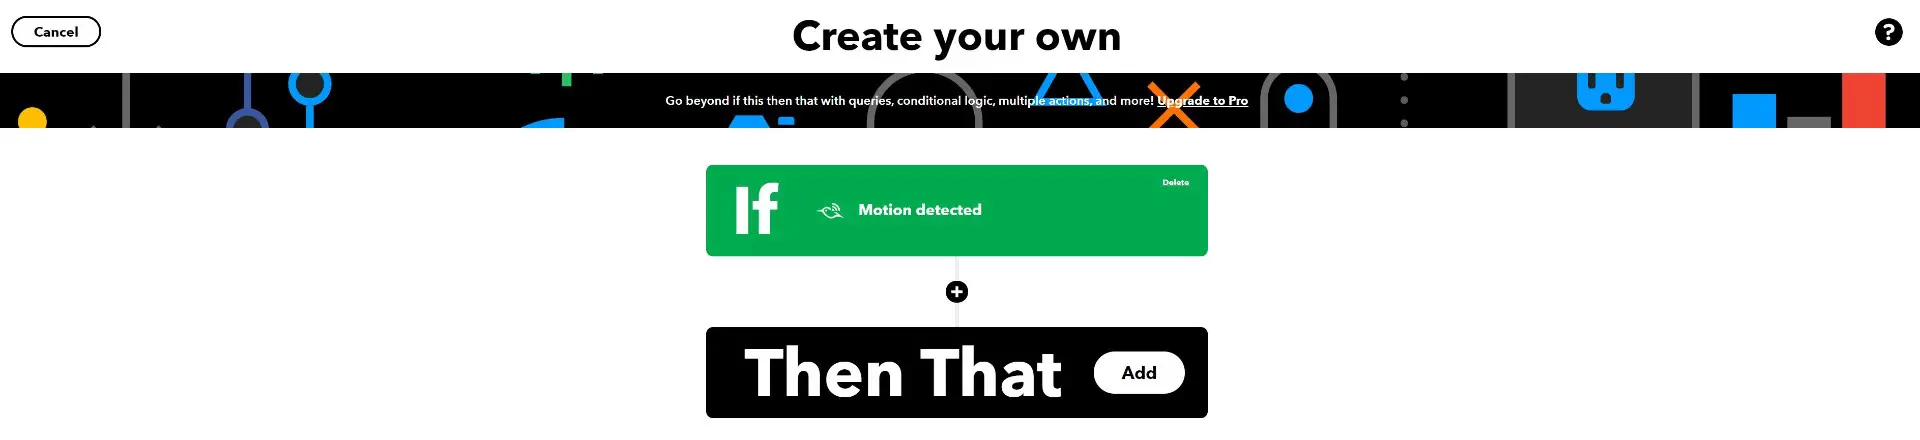
After deciding on your trigger, complete the trigger field by choosing your Arlo device.

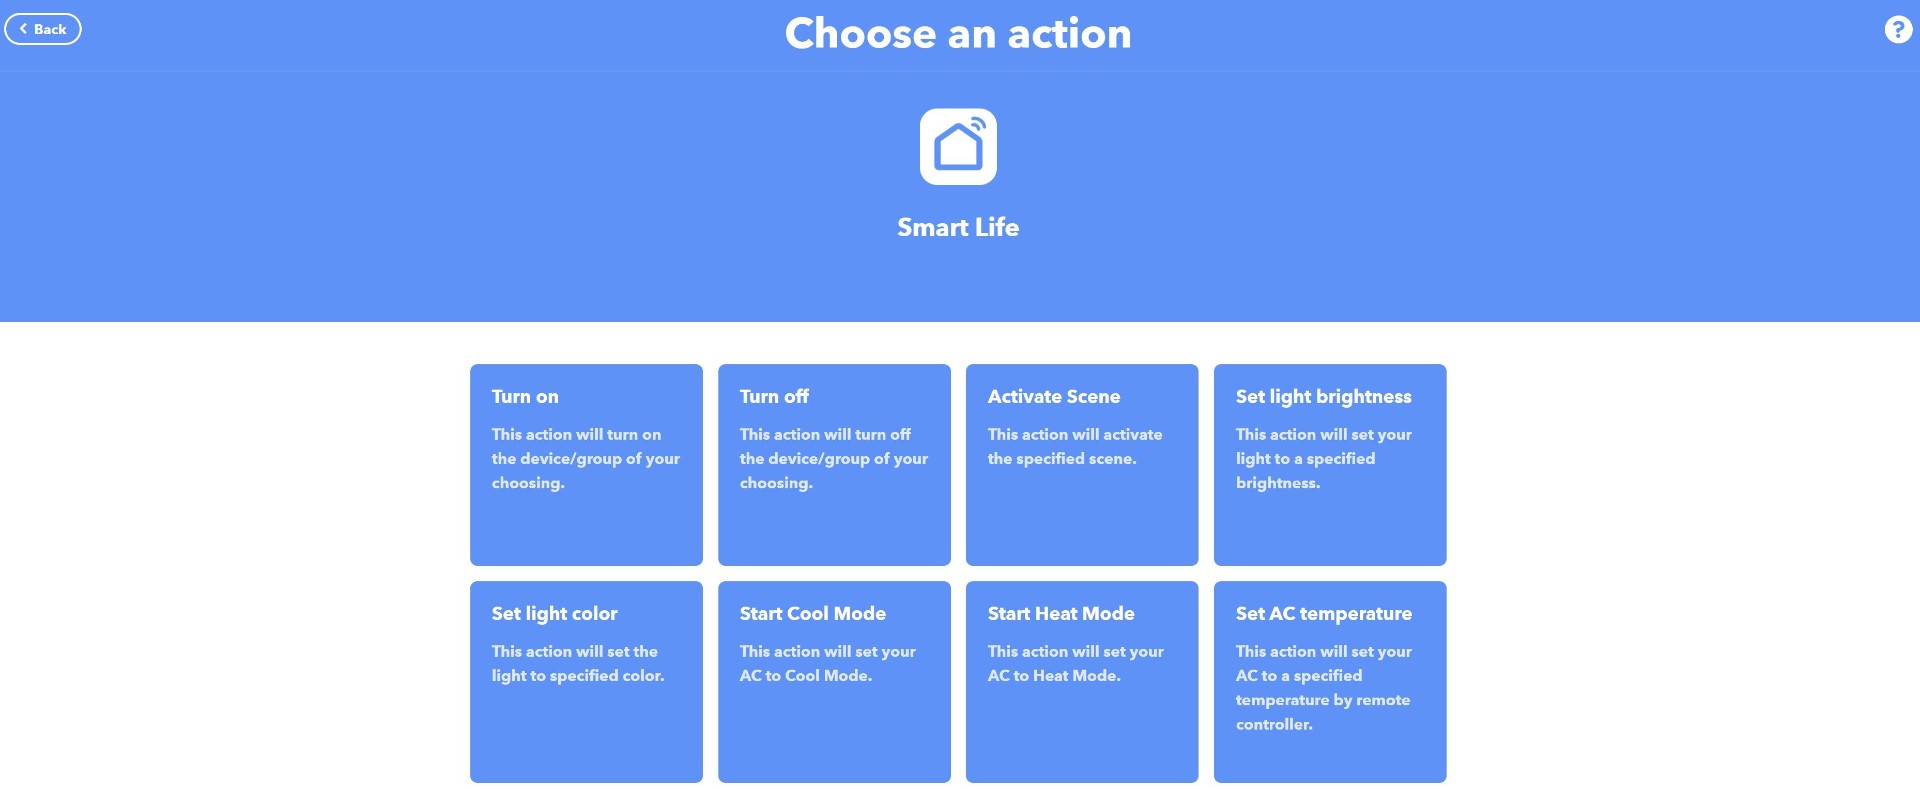
Now, we need the Arlo camera (trigger) to talk to my Smart Life LED strip. I linked my Smart Life account earlier, so I just need to click Then That Add.
Search for Smart Life and select your action. In my case, Activate Scene.
Select your desired scene from the list and click Create action.

Click Continue to review & finish designing your custom Applet.
Top Tip To check your Applet is running as you intended, I recommend selecting the option to “Receive notifications when this Applet runs.” Don’t worry if you missed it, you can go into the Applet settings to turn this feature on or off at any time.

Lastly, click Finish.
Here is my Smart Life LED strip in action:
Smart Life LED Strip Flashing Red After Arlo Detected Motion
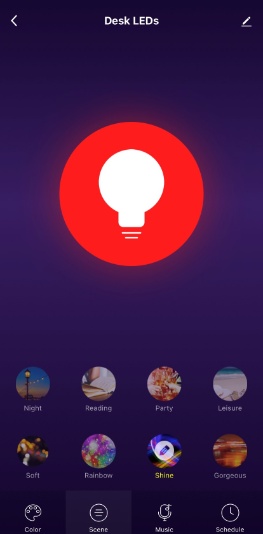
You should start by modifying a preconfigured scene within your Smart Life device settings. Navigate to the Home page of your Smart Life app. Find the device that you want to a scene to run on and tap.
Tap to turn on the device.
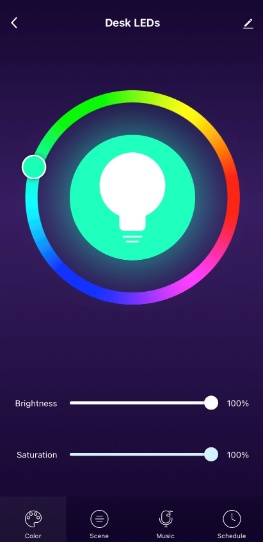
At the bottom of your screen tap Scene. In the Scene menu you will see 8 default Scenes labelled as follows:
Night
Reading
Party
Leisure AKA Scene
Soft AKA Scene 1
Rainbow AKA Scene 2
Shine AKA Scene 3
Gorgeous AKA Scene 4
Only the bottom row i.e. Scenes 1-4 are customisable.
Tap the pencil icon within the Scene circle and edit the colour(s) and speed setting.

Tap the Back button at the bottom or top left arrow to reach the Home page.
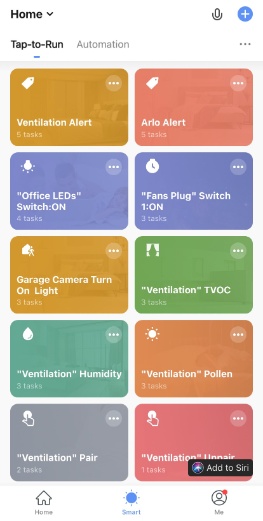
At the bottom of the Home page of your Smart Life app, tap the Smart icon in the centre. In the Tap-to-Run submenu, tap the circular + icon.
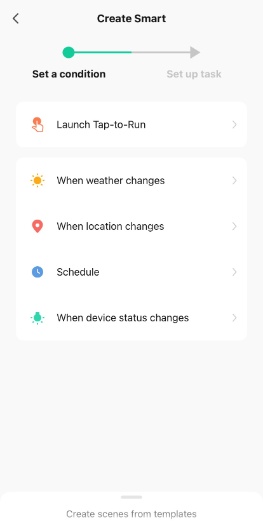
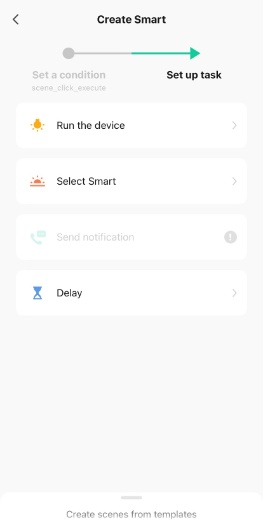
Tap Launch Tap-to-Run (for IFTTT) or select your choice of condition and then Run the device.
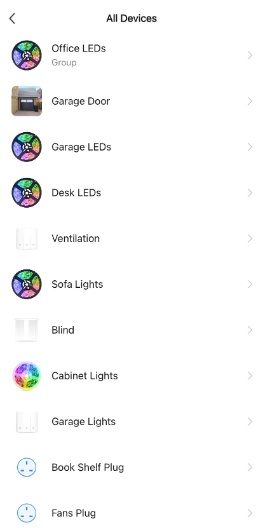
You will be presented with a list of connected Smart Life devices. Choose the device that you intend to run the scene on and modified a default scene for in the previous step.
If your Smart Life device is usually off, you need to configure your device to turn on before running the scene. Tap Switch and then ON.
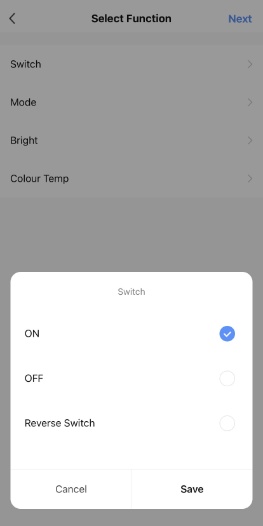
Next, you will need to set the Mode. Remember to choose the scene you modified in the earlier step i.e. Scene 1 – 4.
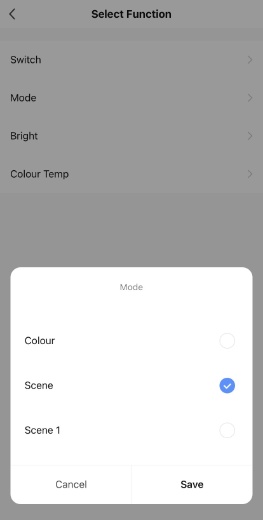
Tap Save. Your Scene should appear in your list of Tap-to-Run Scenes. You can tap the icon to test the Scene.
Please feel free to drop a comment if you enjoyed reading this article today or if you have any questions. How do you use Arlo & IFTTT together? Do you have any custom Applets you wish to share?
Hi, just starting out on my first IFTTT project – connecting Arlo motion detection to a Smart Home plug with a siren.
Leked the example with the red LED on alarm.
I fully understand the siren/LED – ” ON ” part, these triggers / events seem standard.
But after say 15 seconds without motion the Arlo recording stops – will the Smart Plug switch off or do I need something additional ?
Or maybe “Arlo trigger ” to a timer function on the Smart Plug – ON/OFF
Hi Brian, Congrats on working on your first IFTTT project. What Smart Plug are you using? I’d recommend Smart Life/Tuya plugs and creating a scene for IFTTT to action e.g. Trigger = Arlo detects motion > Action = Smart Life scene (Turn on Smart Plug – 15 seconds time delay – turn off Smart Plug). Hope this helps.