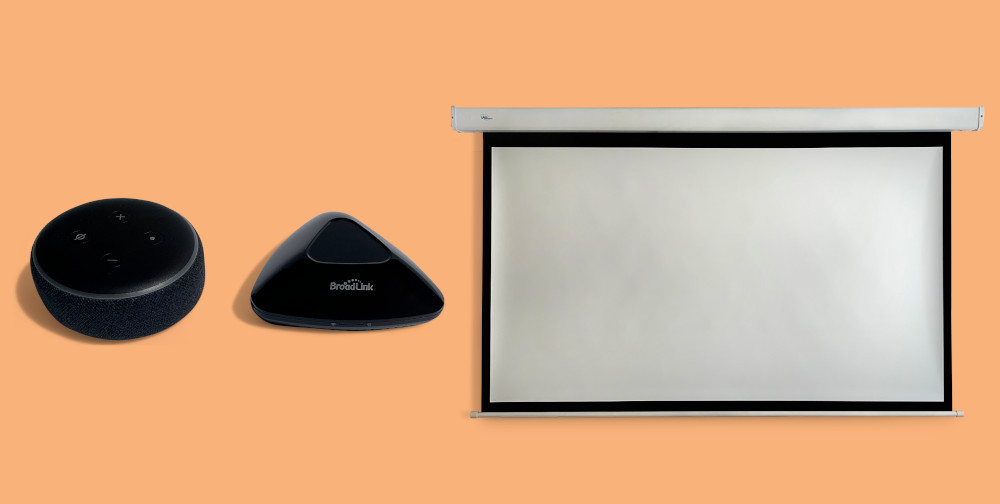
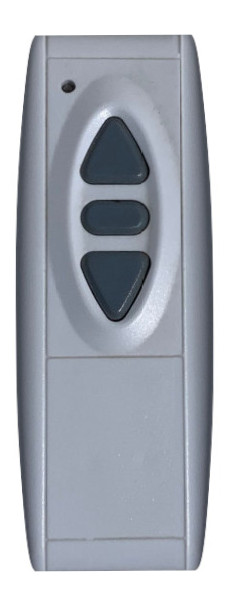
The technique described in my How To, will result in Alexa working with any motorized projector screen. The link between Alexa & your motorized projector screen remote control will be managed by an Broadlink RM Pro+ using Radio Frequency (433MHz) technology & Wi-Fi. Most motorized projector screen RF remote controls look like:
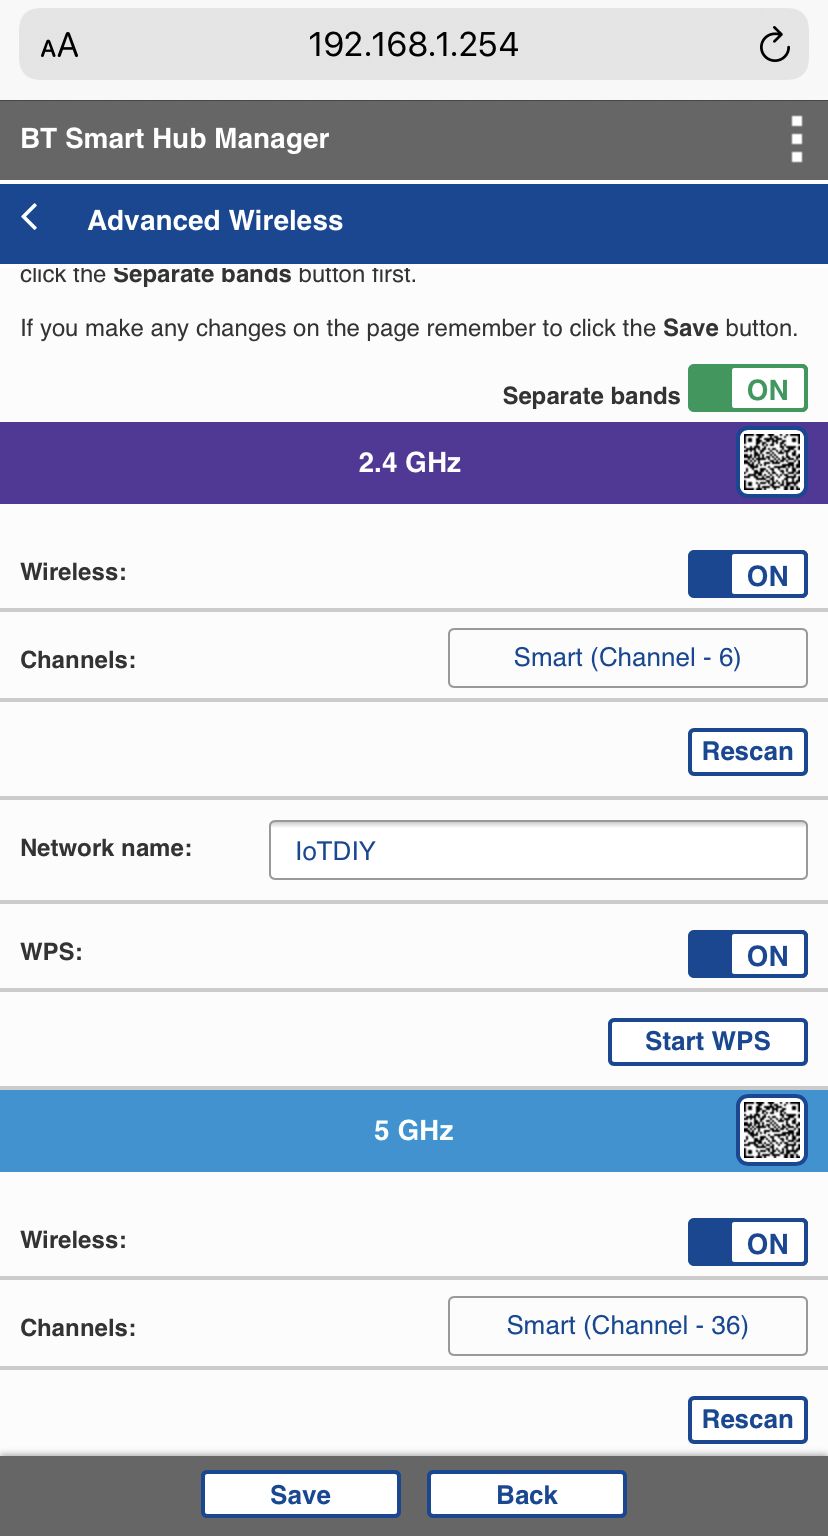
Most router admin settings can be accessed if you type IP address “192.168.1.254” in your choice of web browser. Look out for the Wireless section and a Separate Bands ON option. If you select this option and save, your 2.4GHz & 5GHz networks will become 2 separate networks.
Please note. This process is only required for adding the Broadlink RM Pro+ to your Wi-Fi network.


Tap the + icon and then RF remote. Decide on your choice of function icon for projector screen down. I feel this ![]() icon best represents lowering a motorized projector screen.
icon best represents lowering a motorized projector screen.
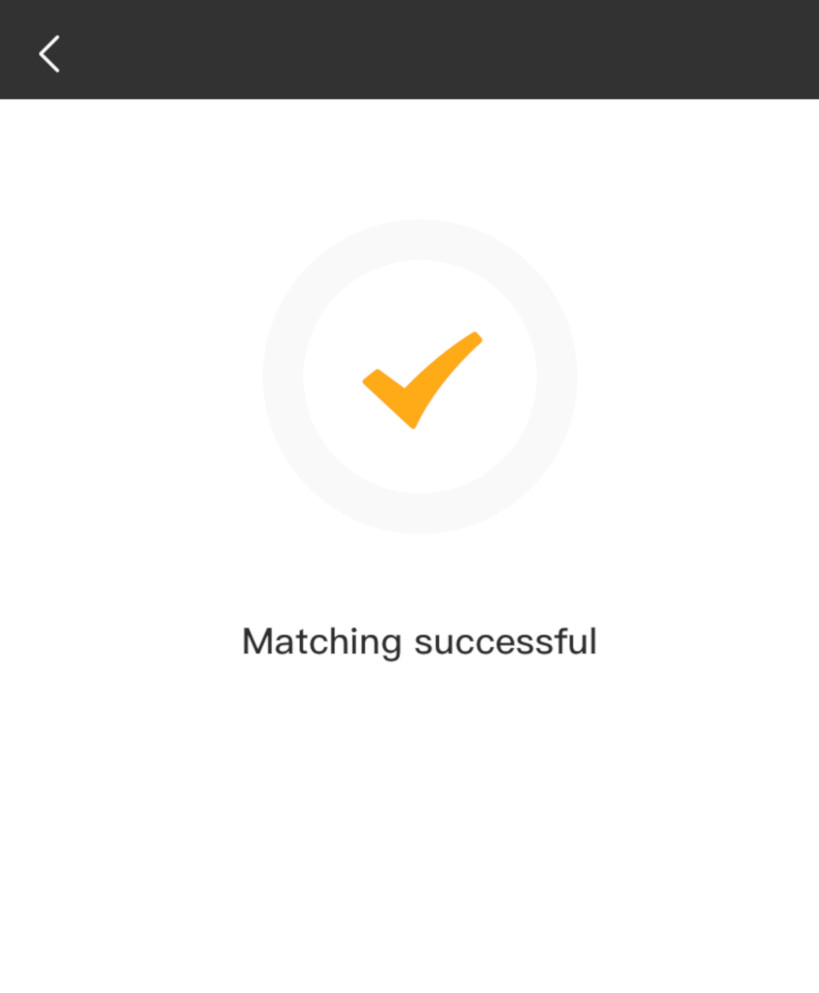
After making your function icon selection, you will notice an orange LED appear on the RM Pro+ as it is now in learning mode. Point your projector screen RF remote control towards the RM Pro+ and press and hold your screen down button for approx 5 seconds. You should see a Matching successful message quickly appear:
A Button learning 30 second count down will begin:
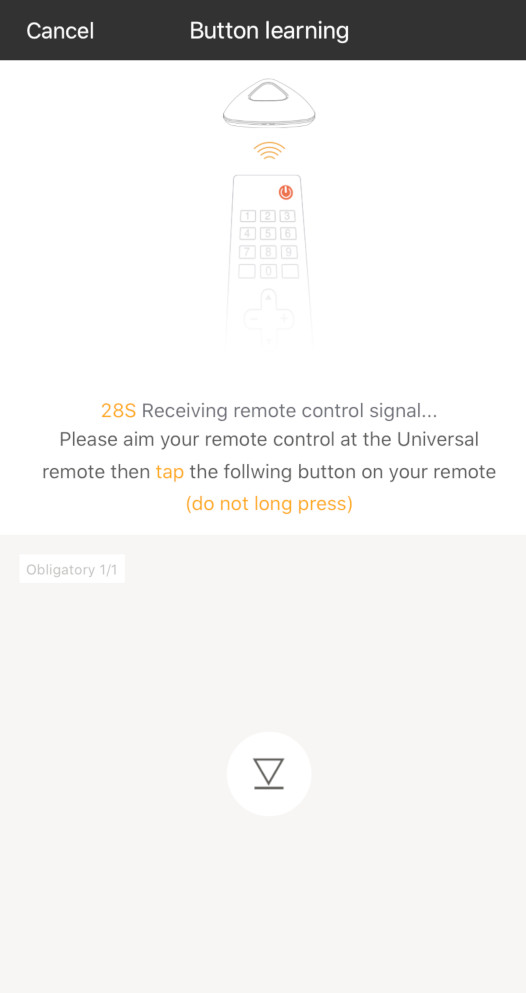
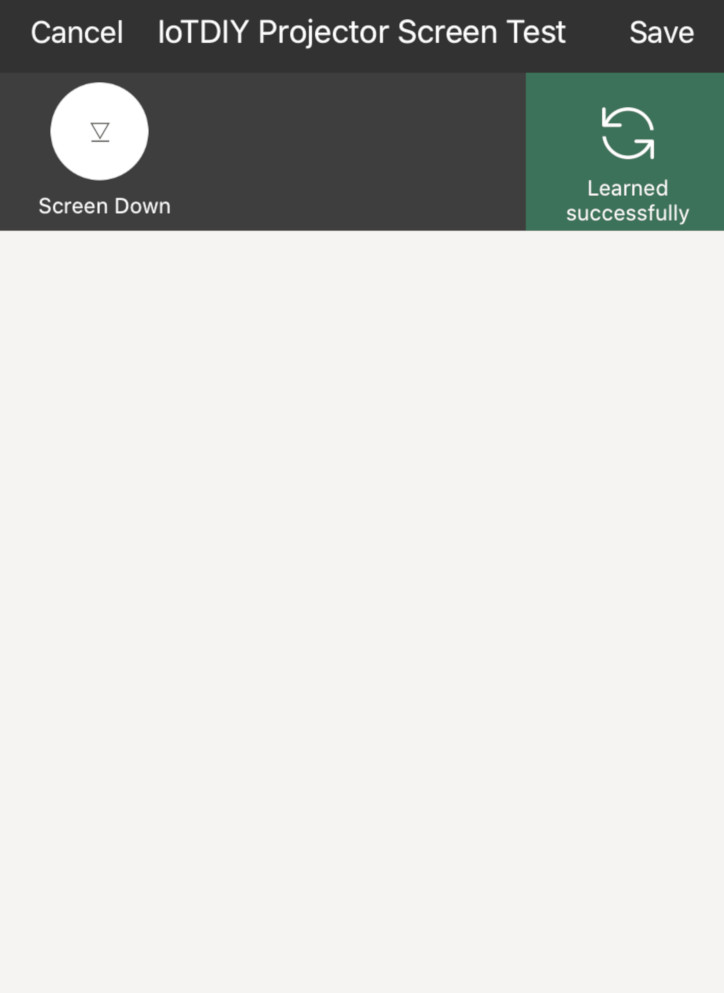
Press your RF remote control screen down button again. You should see a Learned success message:
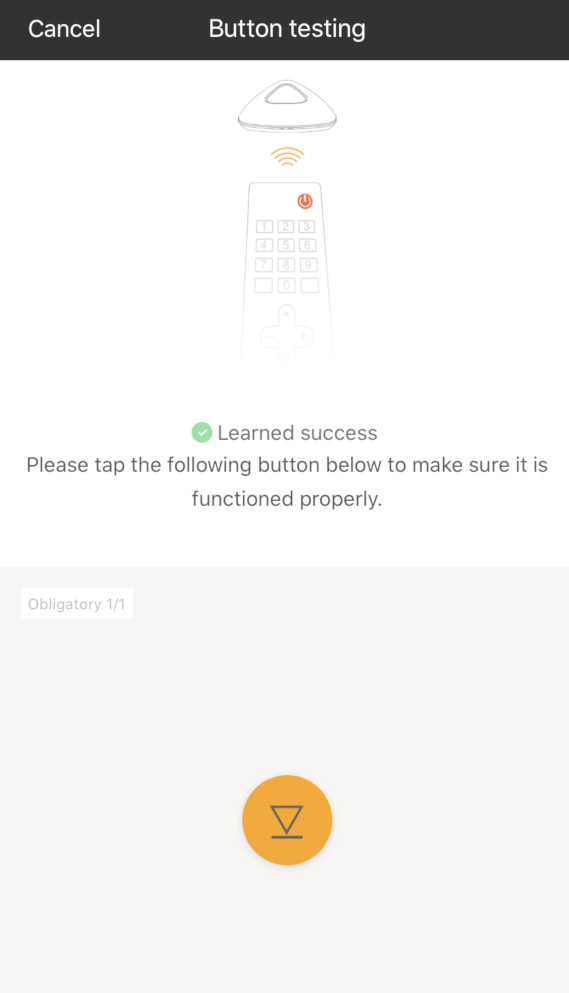
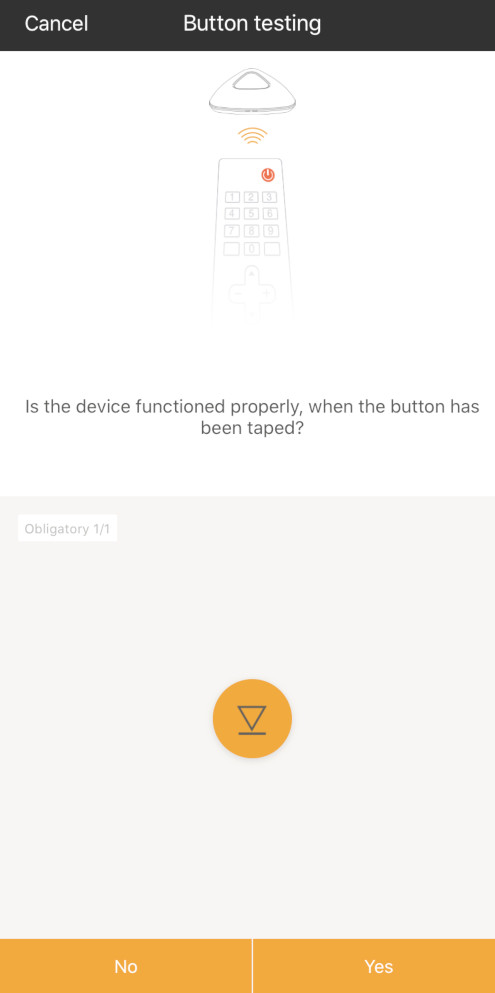
Tap the function icon to see if your motorized projector screen is lowering as expected. You will be asked to confirm if the function is working correctly by tapping No or Yes:
The process for re-learning any RF remote control button is straight forward. Select the ![]() 3 dots menu and tap Learn. Tap Learn again for any inputs that are not working correctly.
3 dots menu and tap Learn. Tap Learn again for any inputs that are not working correctly.
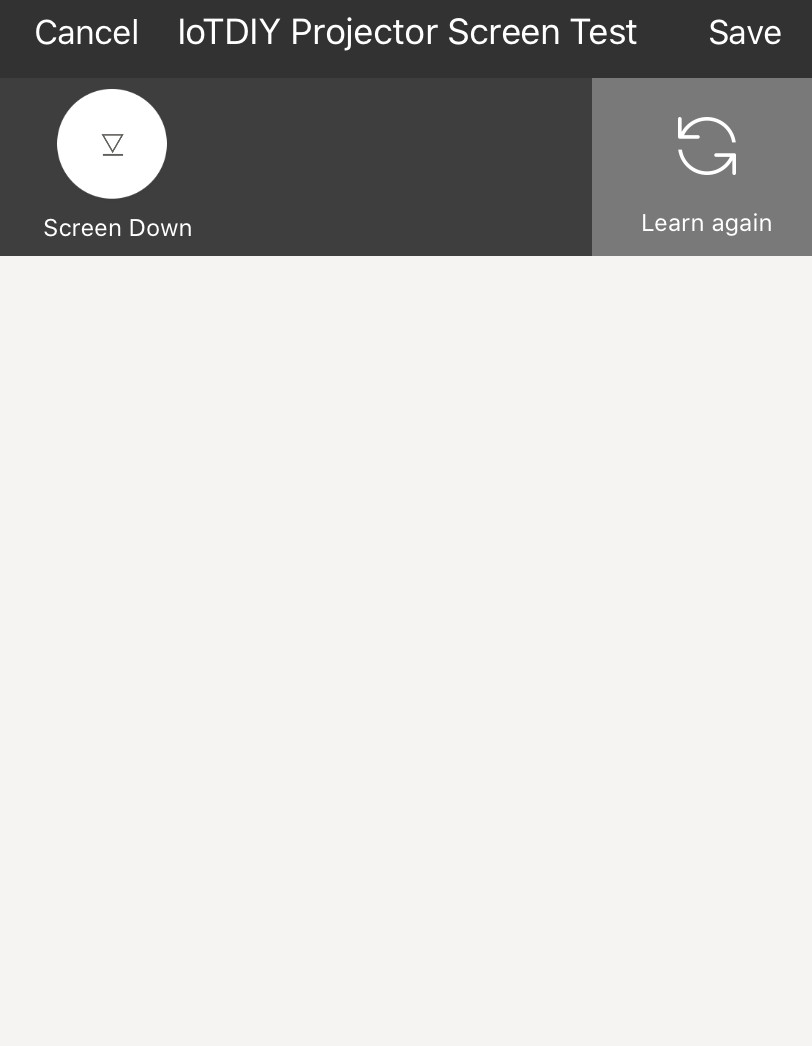
Tap Learn RF. Press and hold your RF remote control screen down button for approx 5 seconds. You should see a Scan frequency successfully message and tap OK. Press your RF remote control screen down button again.
You will see a Test the results of the study pop up, tap Test and at the same time check to see if the orange LED is appearing on the RM Pro+. This confirms the RF remote control code has been learnt by the RM Pro+. Your projector screen should also be lowering.
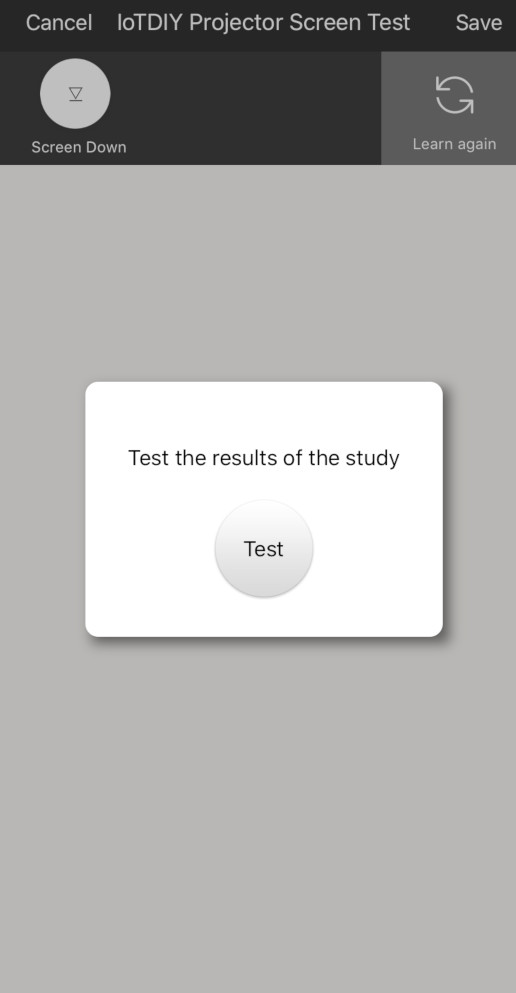
Tap Yes to the new learnt button responded message and tap Save.
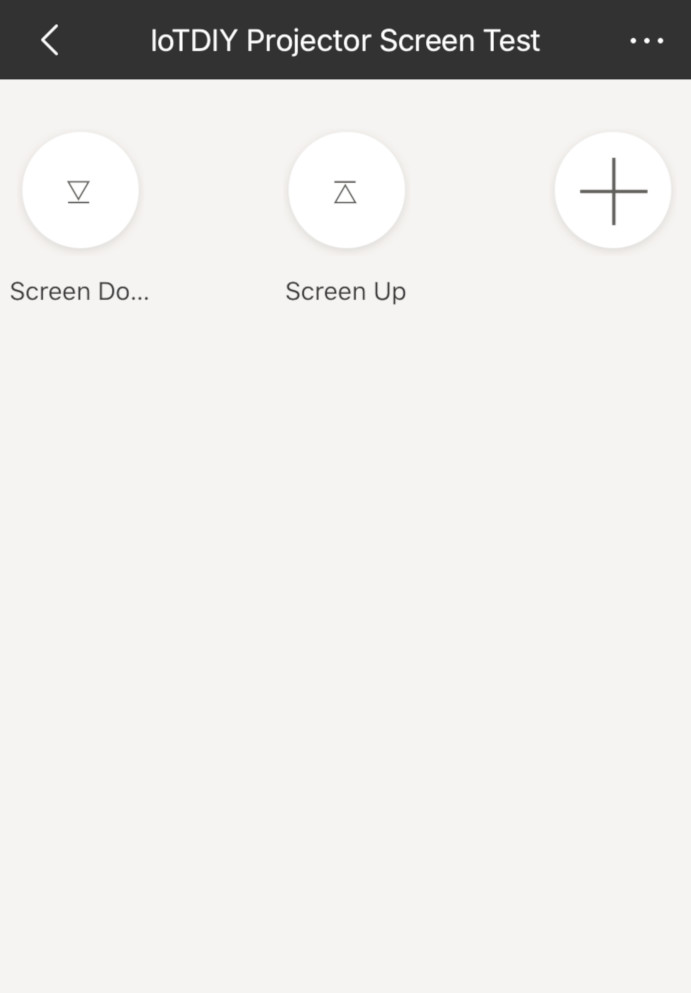
Repeat the above steps to setup & learn your RF remote control screen up button.
At this stage, your app screen should be as follows:
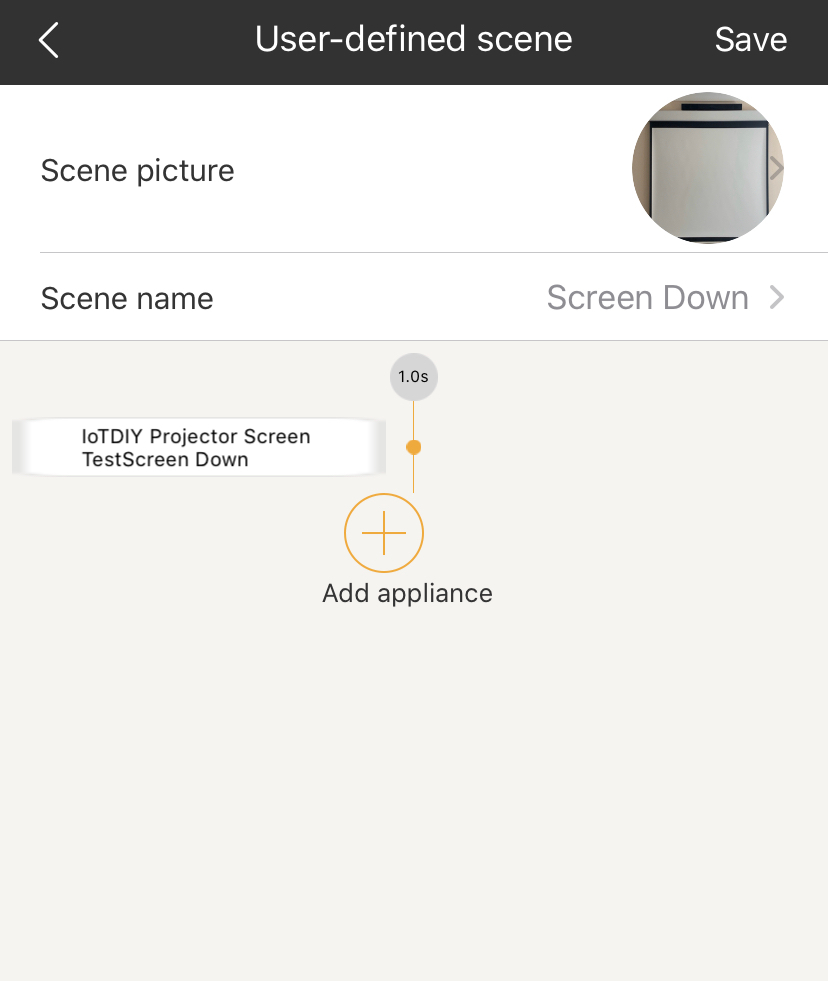
In the ihc for EU app home screen, tap Scene. Tap the + icon and select your choice of scene picture.
Next up, name the scene as you have done so for the RF remote control codes i.e. Screen Down. Tap the + icon to add appliance, tap Projector Screen (or the Device Name you chose) and then Screen Down. I recommend adding a 1 second delay by tapping 0.0s and scrolling to 1.0 sec, tap OK and then Save.
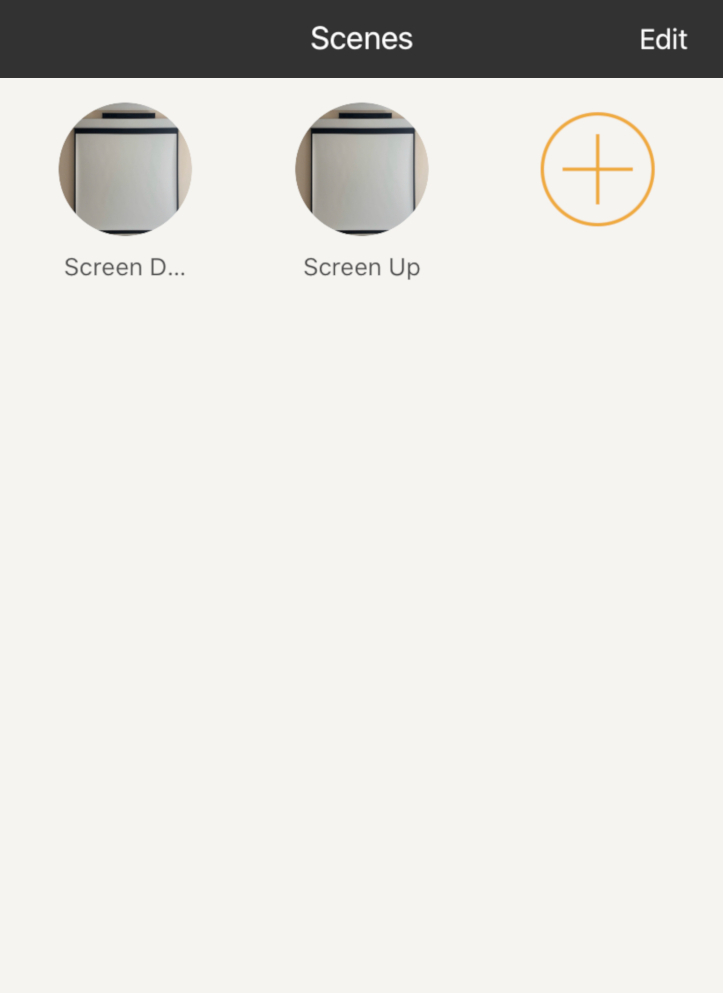
Repeat the above step to create a scene for screen up. Your app screen should be as follows:
In the ihc for EU app home screen, tap Scene. Tap the + icon and select your choice of scene picture.
Next up, name the scene as you have done so for the RF remote control codes i.e. Screen Down. Tap the + icon to add appliance, tap Projector Screen (or the Device Name you chose) and then Screen Down. I recommend adding a 1 second delay by tapping 0.0s and scrolling to 1.0 sec, tap OK and then Save.
Repeat the above step to create a scene for screen up. Your app screen should be as follows:
Now we are at the final step to setup the Alexa integration. Download & install the Alexa app on your phone or tablet.
In the Alexa app, select the ![]() 3 lines menu and tap Skills & Games. Tap the search icon and type in “ihc for EU”. Tap Enable to use button and follow the steps to link your ihc for EU account with Alexa. Ignore the message regarding no voice controlled devices have been created.
3 lines menu and tap Skills & Games. Tap the search icon and type in “ihc for EU”. Tap Enable to use button and follow the steps to link your ihc for EU account with Alexa. Ignore the message regarding no voice controlled devices have been created.
Head over to the Alexa app home screen and tap select the ![]() 3 lines menu and then Routines.
3 lines menu and then Routines.
Tap the + icon, name your routine e.g. Projector Screen Down. For When this happens, tap the + icon and then Voice. Type “Screen Down” and select Next. Tap the + icon to Add action, tap Smart Home and then Control Scene. Tap Screen Down.
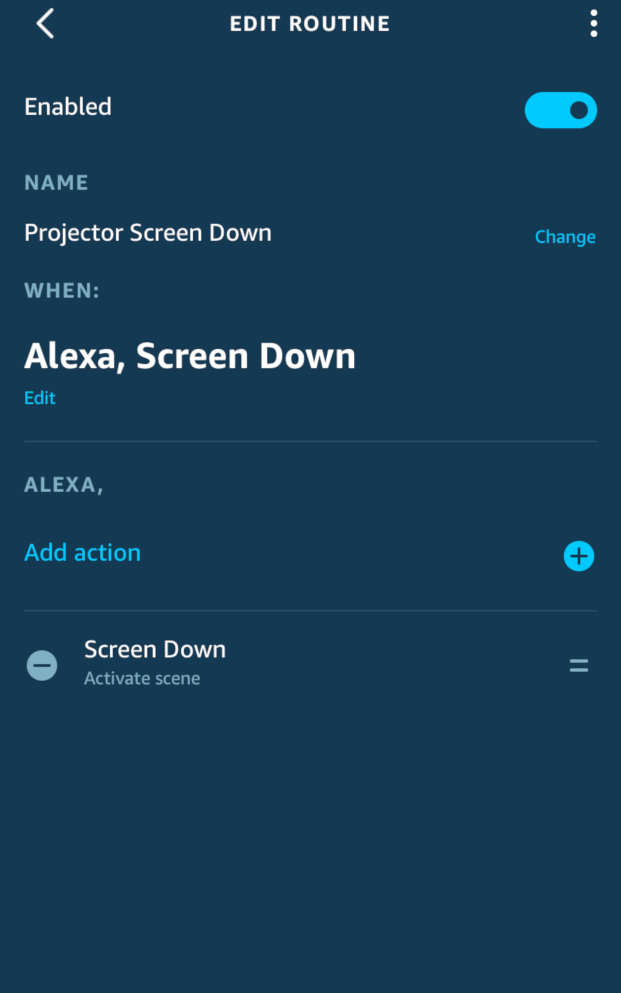
Please note. If the scenes are not visible, swipe down to refresh the screen. Tap Next & Save.
Repeat the above steps for Alexa voice controlling projector screen up.
Congratulations you now have your very own Alexa controlled projector screen!
If you haven’t already, don’t forget to go back into your router admin settings, in the Wireless section and select Separate Bands OFF option.