In this comprehensive guide, I will share all you need to know about tackling messy cables in smart homes with affordable and effective cable management solutions.
Table of Contents
ToggleHow to organise cables?
Cable Labels
If you are starting from scratch with a brand new setup or retrospectively attempting to sort out messy cables in your home, you should start by disconnecting all your devices and use cable labels for identifying which cable belongs to each device.
Power Socket Locations
At this point, you should also consider where your nearest power sockets are located, how many power sockets you need for your devices and the order that you wish to arrange your devices depending on their purpose.
You may find the order of your devices will be dictated by their cable lengths. Why is this relevant to cable management? Well, simply put the most effective method of reducing cable clutter is grouping your cables together.
How to improve cable clutter?
Cable Straps
An excellent way to bind your cables together is to use cable straps which are made from durable fabric, approx 15cm in length and feature a hook & loop design. You can effortlessly attach straps to your cables in seconds.
Cable Tubes
Cable tubes enable you to wrap your cables neatly together. I find cable tubes are the perfect solution for when you are looking to bend cables around corners or furniture. Cable tubes are available in either black or white colours, 25mm or 32mm outer diameter and 1 meter in length. You simply push your cables through the slit that runs down the length of the tube and fasten with cable zip ties.
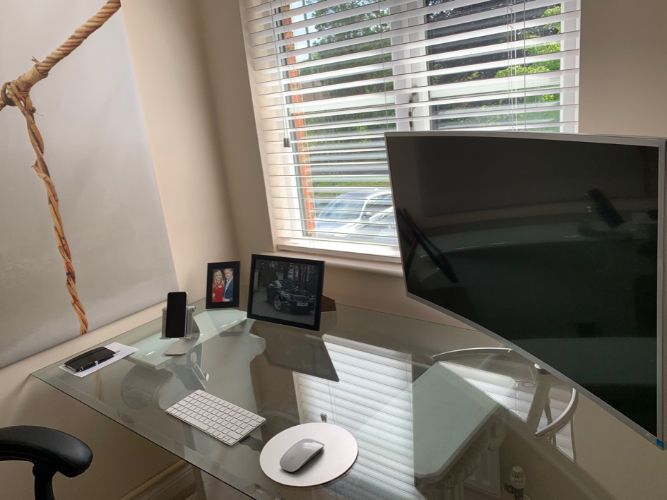
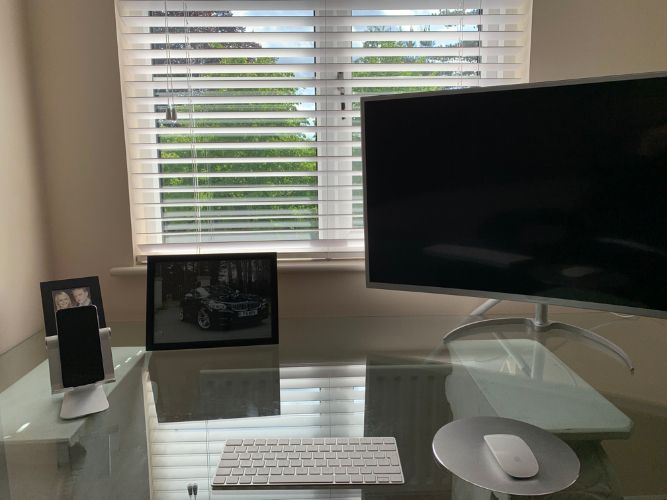
I have a glass desk in my office and prefer all cables to be hidden for a cleaner look. To achieve this, I use a white cable tube to wrap the HDMI, Display Port and monitor power cables together. The tube allows me to easily feed cables behind the monitor then radiator and back to my PC & laptop docking station.
How to tidy up cables behind TV?
Cable Holder Clips
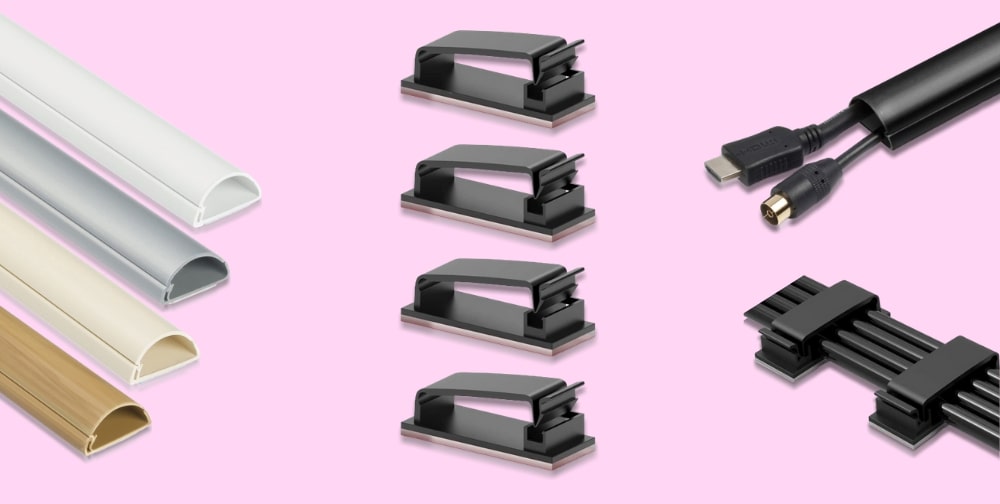
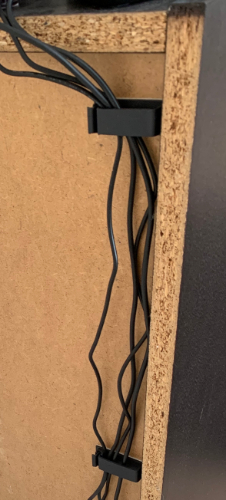
Cable holder clips help to organize and manage cables behind your TV. They are easy to place in a vertical or horizontal position using the convenient 3M adhesive tape to stick to the back of your TV stand or cabinet, wall, table etc.
After positioning clips, open the buckle and feed through your TV HDMI, USB & power cables. Fasten by simply closing the buckle. Cable holder clips are typically 4-5cm in length and clasp cables with a diameter of 8mm or less.
Cable Trunking
Cable trunking can also be used to discreetly cover up cables too. Most people use cable trunking also known as conduit to conceal cables from wall mounted TVs or to run above skirting boards.
Cable conduit is supplied with a hinged lid giving the flexibility to add or remove cables at a later date. To install, cut to the length required, peel & stick the adhesive backing to a wall, open the lid to add cables and snap the lid shut. A hammer can help close the lid tightly if you have packed the conduit with a combination of cables.
Cable trunking is usually 1m in length and supports cables with a diameter of 12mm or less. Cable trunking/conduit is available in various colours such as white, black, silver, magnolia and wood effect.
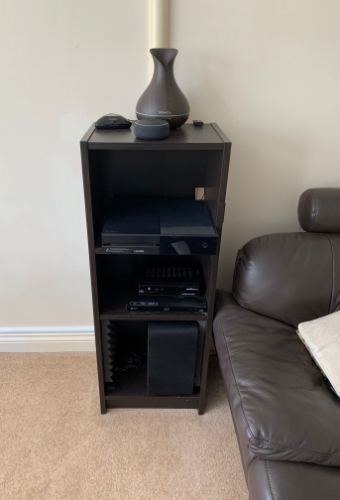
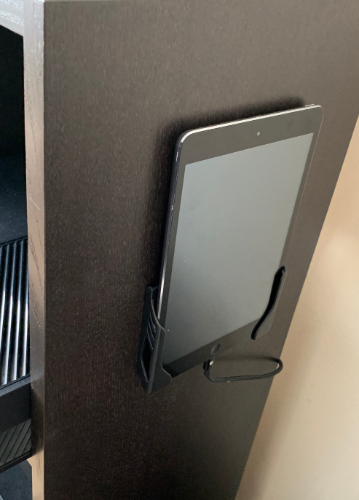
I have a DIY entertainment/media cabinet in my living room which contains an Echo Dot, Broadlink RM Pro+, Wi-Fi Diffuser, Bluetooth Transmitter, iPad Mini, Xbox, Freesat Set-Top Box, Blu-Ray Player, Soundbar Subwoofer, HDMI switch and HDMI splitter. If the cables associated with all of these devices are left untidy they resemble a bowl of spaghetti.
My device cables were perfectly organised after using cable holder clips which I placed either side of my media cabinet to neatly run cables down to a mains extension lead.
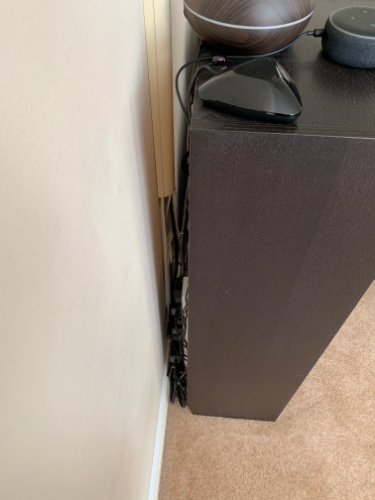
I am a big fan of cable trunking. I use the magnolia coloured version in my living room to feed cables up to my projector, bedroom to feed the power cable to my TV and office for routing the HDMI, Display Port & monitor power cables to my PC & laptop docking station.
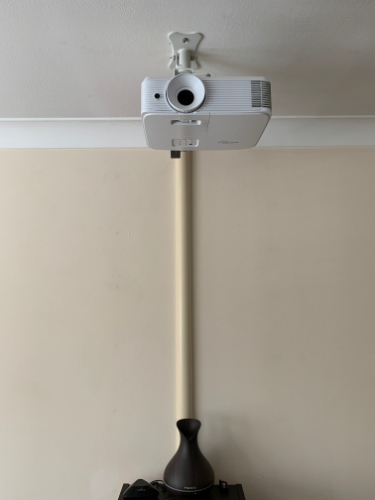
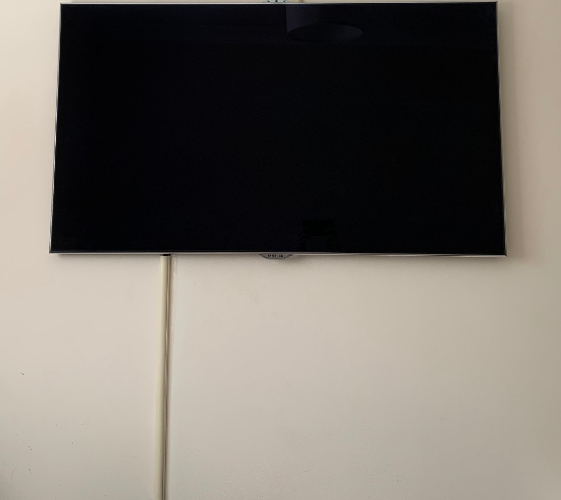
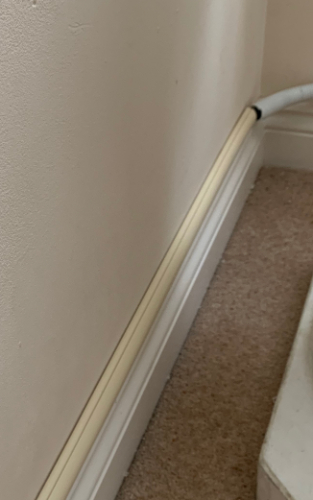
Using cable clips and trunking will help get rid of annoying spaghetti cables forever.
How to store cables neatly?
Cable Tidy Box
Cables can be stored neatly in a cable tidy box. They conceal & protect cables and extension leads very well. The main benefits are making cables less accessible to children & pets and ease cleaning surface areas.
Cable hider boxes have multiple cable entry/exits at the rear and feature a curved design. They can vary in size but generally measure 41cm length, 16cm width & 13cm height and are available in white or black colours.
Cable Trays
Cable trays offer superb storage for messy wires & power adapters too. They are mainly attached to the underside of desks or tables and can be easily hidden. If you do not want to fix to your desk or table frame by screwing in the tray, you can use durable adhesive strips instead.
Cable trays/racks are constructed from 2mm extruded metal and are commonly 40cm in length.
How to improve cable management?
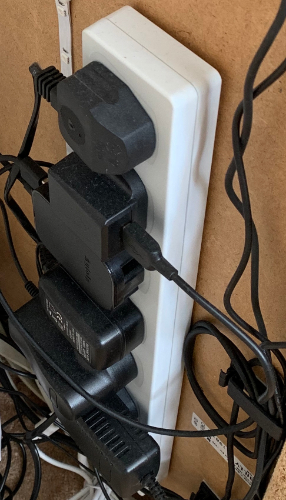
You can start by reducing the number of power cables running from your devices to several mains sockets or extension leads by investing in a 12-Gang power strip/extension lead to power several devices simultaneously. Smaller gang power strips are available e.g. 10-way, 8-way, 3-way etc.
Power Strips
Power strips can differ in design, I recommend tower power strips because they do not take up as much floor space as the flat design of conventional extension leads. The must-have feature to look for is surge protection. If a power surge or spike is encountered your devices will be protected. Most power strips with surge protection have a green light indicator to signify surge protection is active.
Some power strips contain USB ports alongside power outlets. USB ports are particularly useful for smart home products.
In my living room, I decided to stick a power strip/extension lead to the back of my DIY media cabinet using strong adhesive strips.
Spare USB Ports
Another way to improve cable management is to make use of any spare USB ports on devices nearby. During the process of sorting out my cables & wires in my living room, I was amazed to find a few free USB ports behind my Xbox and Freesat Set-Top Box. I was able to power my Bluetooth Transmitter, Fire TV Stick and Broadlink RM Pro+ utilising the unused USB ports.
A lot of TV’s include USB ports on the side or at the back nowadays so be sure to check if you can benefit from this highlight before wasting time or getting frustrated attempting to figure out which products to relegate from your device line up because you are lacking available power connections.
Alternatively, USB plugs or hubs are a brilliant option for expanding your power connections. They do not require any setup, basically plug & play.
How to clean cables and wires?
I suggest using a good quality duster and microfibre cloth. Along with these products, I use Ambersil Amberclens foaming cleaner which does a great job of removing light oils, finger marks, and general dirt. It is also safe to use on plastics, metals, painted and glazed surfaces. Alternatively, a mild solution of soap & water will do the trick.
If your devices contain cooling fans or vents, you may have noticed they collect grime over time. An air blower will soon do away with any visible gunk and allow your devices to run more efficiently. Unplug your device beforehand to prevent air moisture from shorting your equipment.
Smart home products attract a lot of dust due to static electricity. Cleaning will not only help make your devices look nice but they are likely to work better and last longer too.
And that’s pretty much it, everything you could possibly want to know about cable management solutions from firsthand experience.
Please feel free to drop a comment if you enjoyed reading this article today or if you have any questions. How important is cable management to you? Are you bothered by messy cables? Do you have any top tips for how best to organize untidy cables, wires and cords in smart homes?
